

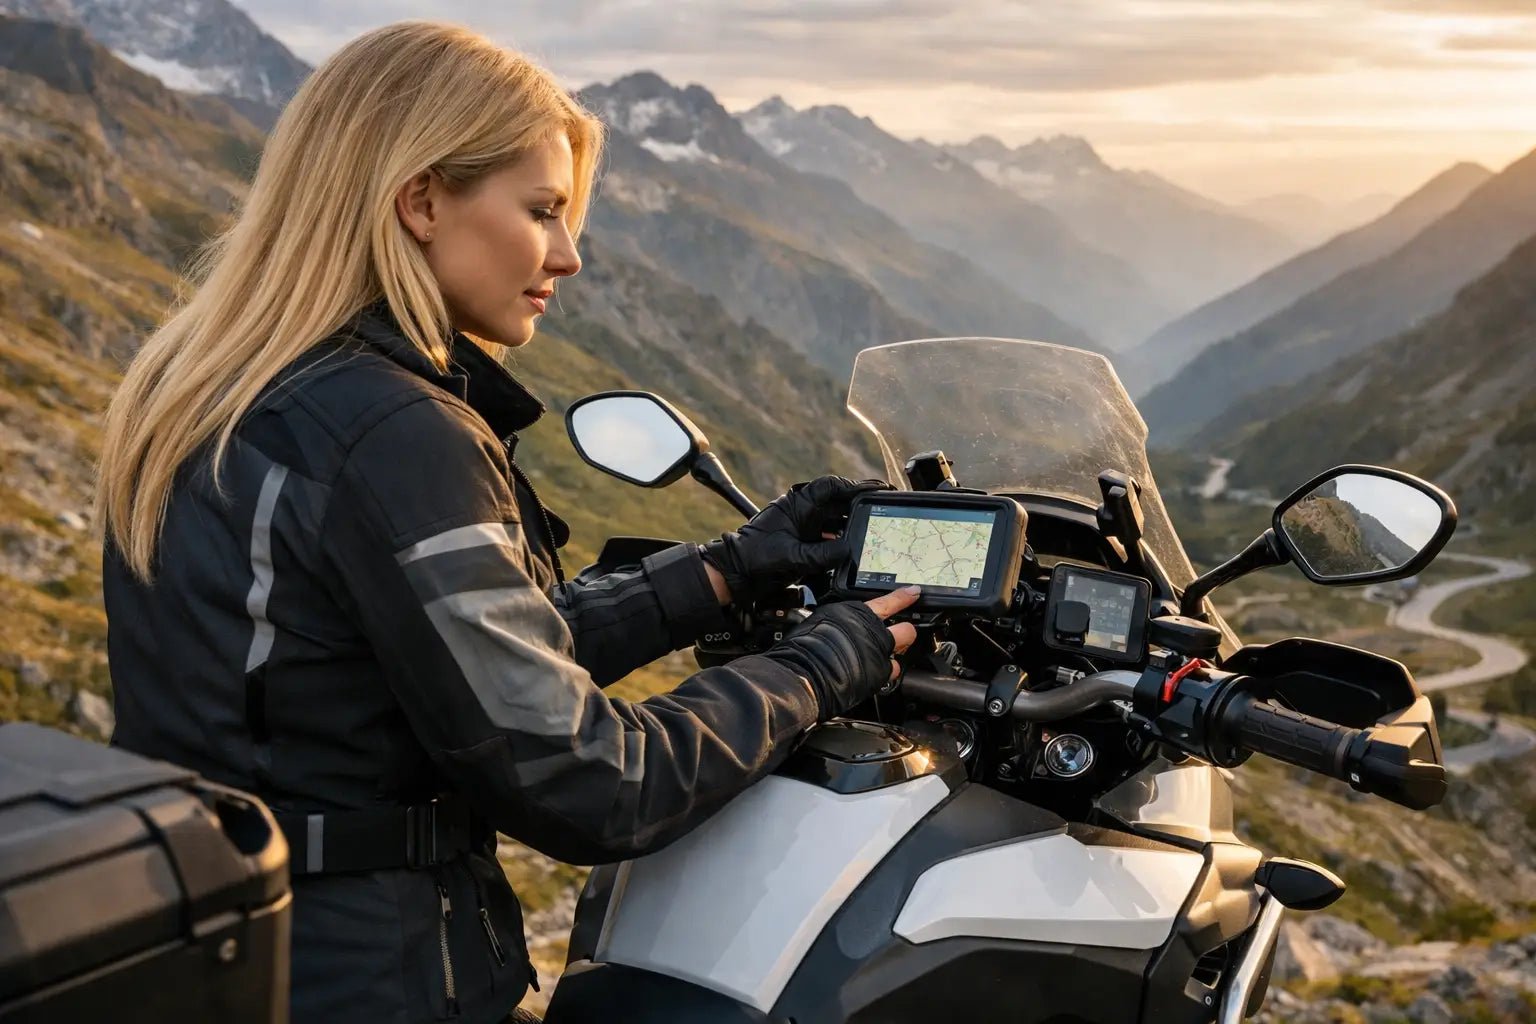
You'll realize you chose the wrong navigation mount on the first fast, rocky trail, or after three hours of rain when your phone stops charging. A good guide to motorcycle navigation mounts is precisely for avoiding these mistakes: not to choose the most eye-catching accessory, but the one that remains readable, stable, and accessible when you're truly traveling.
On a well-prepared adventure or touring bike, the mount isn't a detail. It's part of riding ergonomics and attention management. If the device vibrates, is too low, or forces you to look away for too long, the problem isn't just practical. It becomes a safety issue.
Motorcycle Navigation Mount Guide: Where to Start
The first point isn't the material or the brand. It's understanding which device you'll actually use. Dedicated GPS and smartphones demand different things, and from there everything changes: position, type of attachment, vibration protection, power supply, and ease of use with gloves.
If you use a dedicated GPS, you typically seek continuity. You leave it mounted, power it permanently, and want a bracket that won't budge even on broken dirt roads. If you navigate with your smartphone, however, the issue becomes more delicate. In addition to mechanical hold, you need to consider heat, rain, display visibility, and the camera's vulnerability to prolonged vibrations.
That's why a sensible choice always starts with a simple question: do you want a system designed for long trips and repeated use, or for occasional outings? In the field, the difference is felt much more than the initial price.
Where to Mount the Support
The correct position is one that allows you to read the track at a glance, without lowering your head too much. On touring bikes, this often means working in the area above the instrumentation, or aligned with the handlebars but high enough not to force you to search for the display.
Mounting the navigator low, near the steering head or on an improvised bar, might seem like a quick solution. On regular asphalt, it might even work. But when you alternate between curves, potholes, and standing on the pegs, readability decreases and eye movements become longer. After a full day, fatigue accumulates.
On models like BMW GS, Africa Twin, KTM Adventure, Ténéré, or Tiger, the presence of dedicated brackets or navigation bars greatly changes the end result. A model-specific attachment tends to offer a cleaner line of sight and a more consistent mounting with the fairing, instrumentation, and available space. It's not an aesthetic detail. It's the simplest way to avoid interference with adjustable windscreens, controls, and wiring.
Handlebar Mount or Dedicated Bracket
The handlebar mount has a clear advantage: it's simple to install and often flexible. It's good if you change configurations often or if you want to move the device from one bike to another. The downside is that it doesn't always offer the best position, especially on bikes with high cockpits or a lot of instrumentation.
The bike-specific bracket, on the other hand, is designed to integrate with that precise front end. It generally works better for visibility and distributes weight and vibrations more correctly. If you do long trips or medium off-road, it's usually the most sensible path.
Vibrations: The Real Problem, Not the Theoretical One
Many riders immediately look at the attachment system and overlook vibration behavior. Yet that's where a good mount separates itself from merely acceptable ones. The point isn't just to prevent the device from falling. The point is to avoid continuous micro-movements that make the display less readable, loosen fasteners, or stress the electronics.
On single-cylinder or twin-cylinder bikes with a more off-road setup, the issue is felt even more. A Himalayan or a Ténéré 700, for example, can transmit very different stresses compared to a large tourer used almost exclusively on asphalt. If you alternate between gravel roads, potholes, and fast transfers, the mount must withstand both conditions.
Three factors are important here: the rigidity of the bracket, the quality of the attachment interface, and any anti-vibration system. There's no need to pursue complicated solutions if the basic mounting point is weak. Structure comes first, then isolation.
Smartphone and Camera
With smartphones, there's an extra consideration. Some modern phones have camera modules sensitive to prolonged vibrations. If you frequently navigate on rough terrain, a mount with an anti-vibration system isn't a secondary accessory. It's a concrete form of protection for a device that costs much more than the bracket.
This doesn't mean it's always necessary. If you mostly ride on clean asphalt and the phone is in a stable position, the urgency changes. But if your real use is mixed travel, it's better to consider it from the beginning.
Quick Release or More Protected Fixing
Again, there's no single answer. Quick release is convenient if you stop often, cross borders, make frequent fuel stops, or want to remove your phone in seconds. In practice, it makes a difference when you use the device many times a day.
A more enclosed system or one with a firmer lock can provide greater peace of mind on dirt roads or poorly maintained sections. On the other hand, it's sometimes less immediate with gloves or requires two hands. It depends on how you travel. If you're on raids with many hours of standing and little urban traffic, security is the priority. If you're crossing cities, hotels, ferries, and making quick stops, practicality weighs more.
Power Supply: The Point That Determines If the System Truly Works
A navigation mount without adequate power supply is often a half-solution. High brightness, offline maps, active intercom, and continuous charging put a load especially on the smartphone. If the charging port is slow or the wiring is poorly exposed, the phone can heat up and gain very little battery even after hours of riding.
To travel well, you need a stable and clean power line. USB or 12V outlets should be evaluated based on the device, available space, and how much you want to integrate the system into the bike. Tidy wiring is almost as important as the mount itself: fewer tensioned cables, less risk of tearing, less water infiltration.
If you cover many kilometers in the rain or frequently wash your bike at the end of a trip, it's worth paying attention to connector protection as well. In practice, problems rarely come from the mount itself. They come from neglected details during installation.
Model Compatibility Matters More Than It Seems
A true guide to motorcycle navigation mounts cannot stop at the clamp type. On many adventure bikes, the difference is made by compatibility with the specific model and the existing setup on the bike. Larger fairings, crossbars, roadbook supports, high tank bags, auxiliary power outlets, or aftermarket bars can occupy the very space you thought was free.
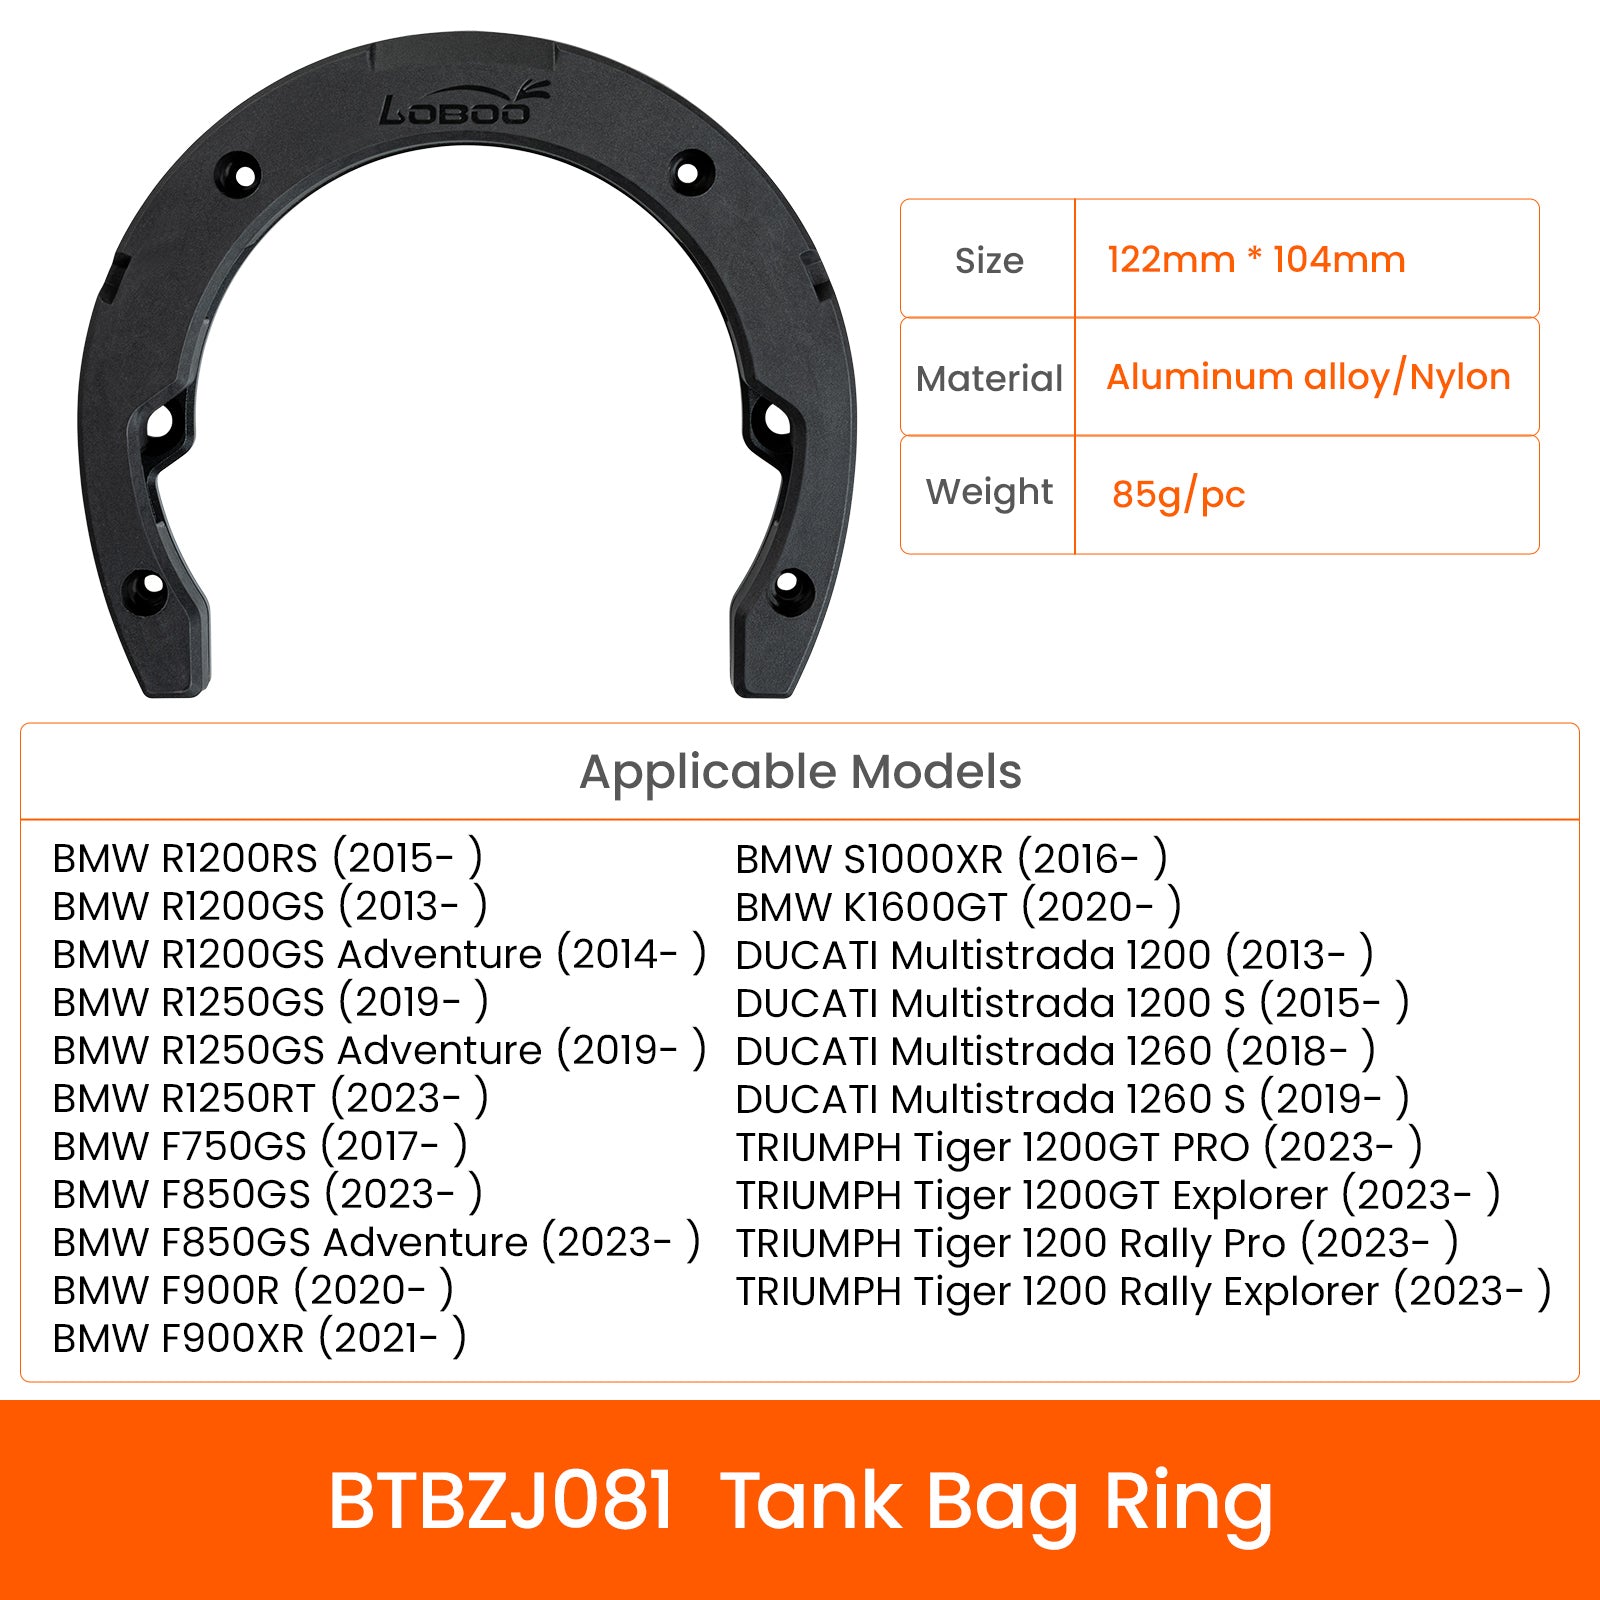
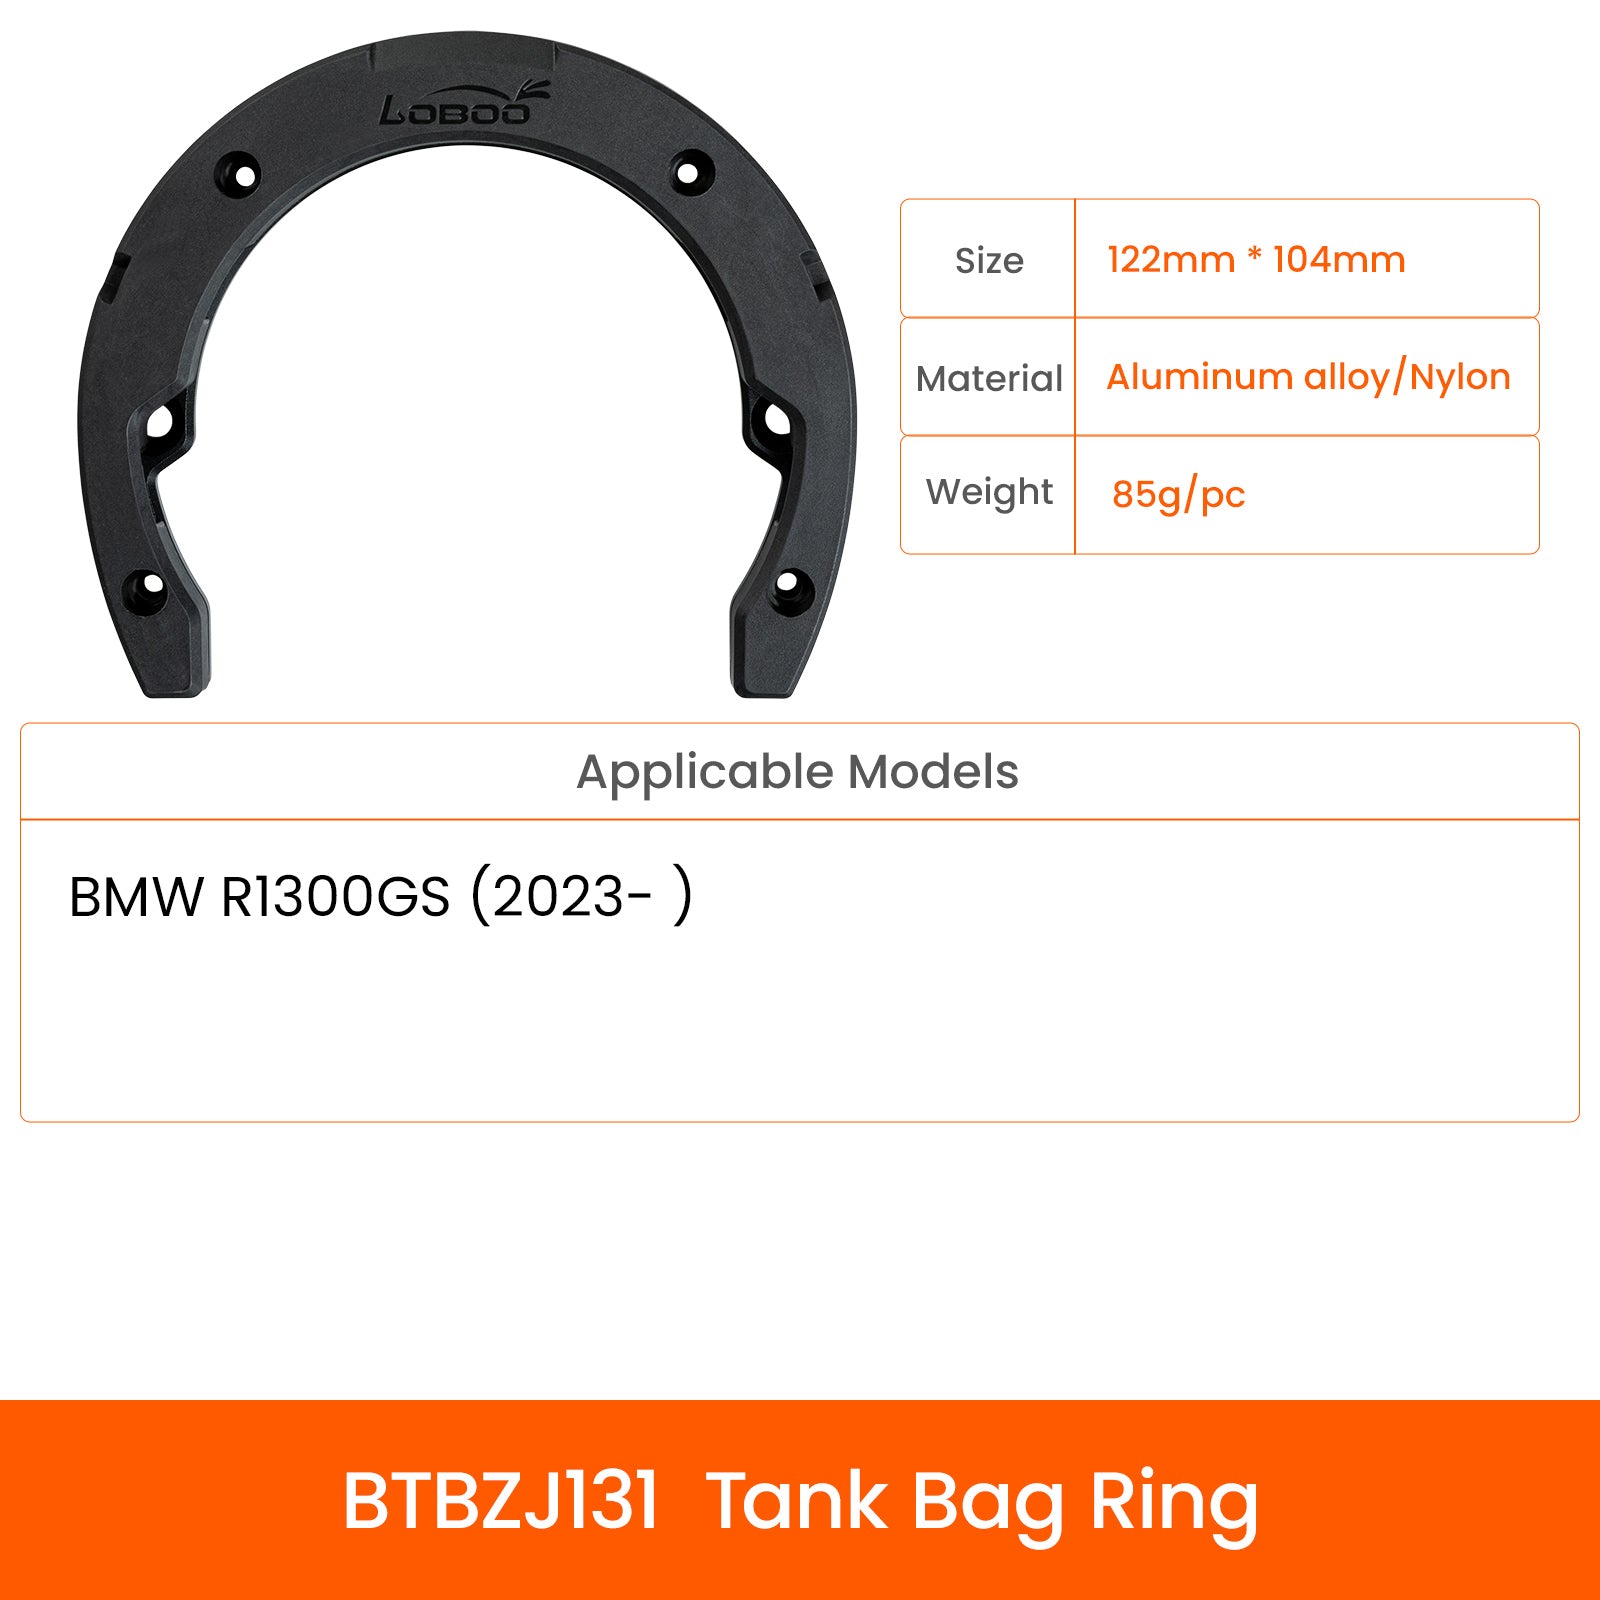
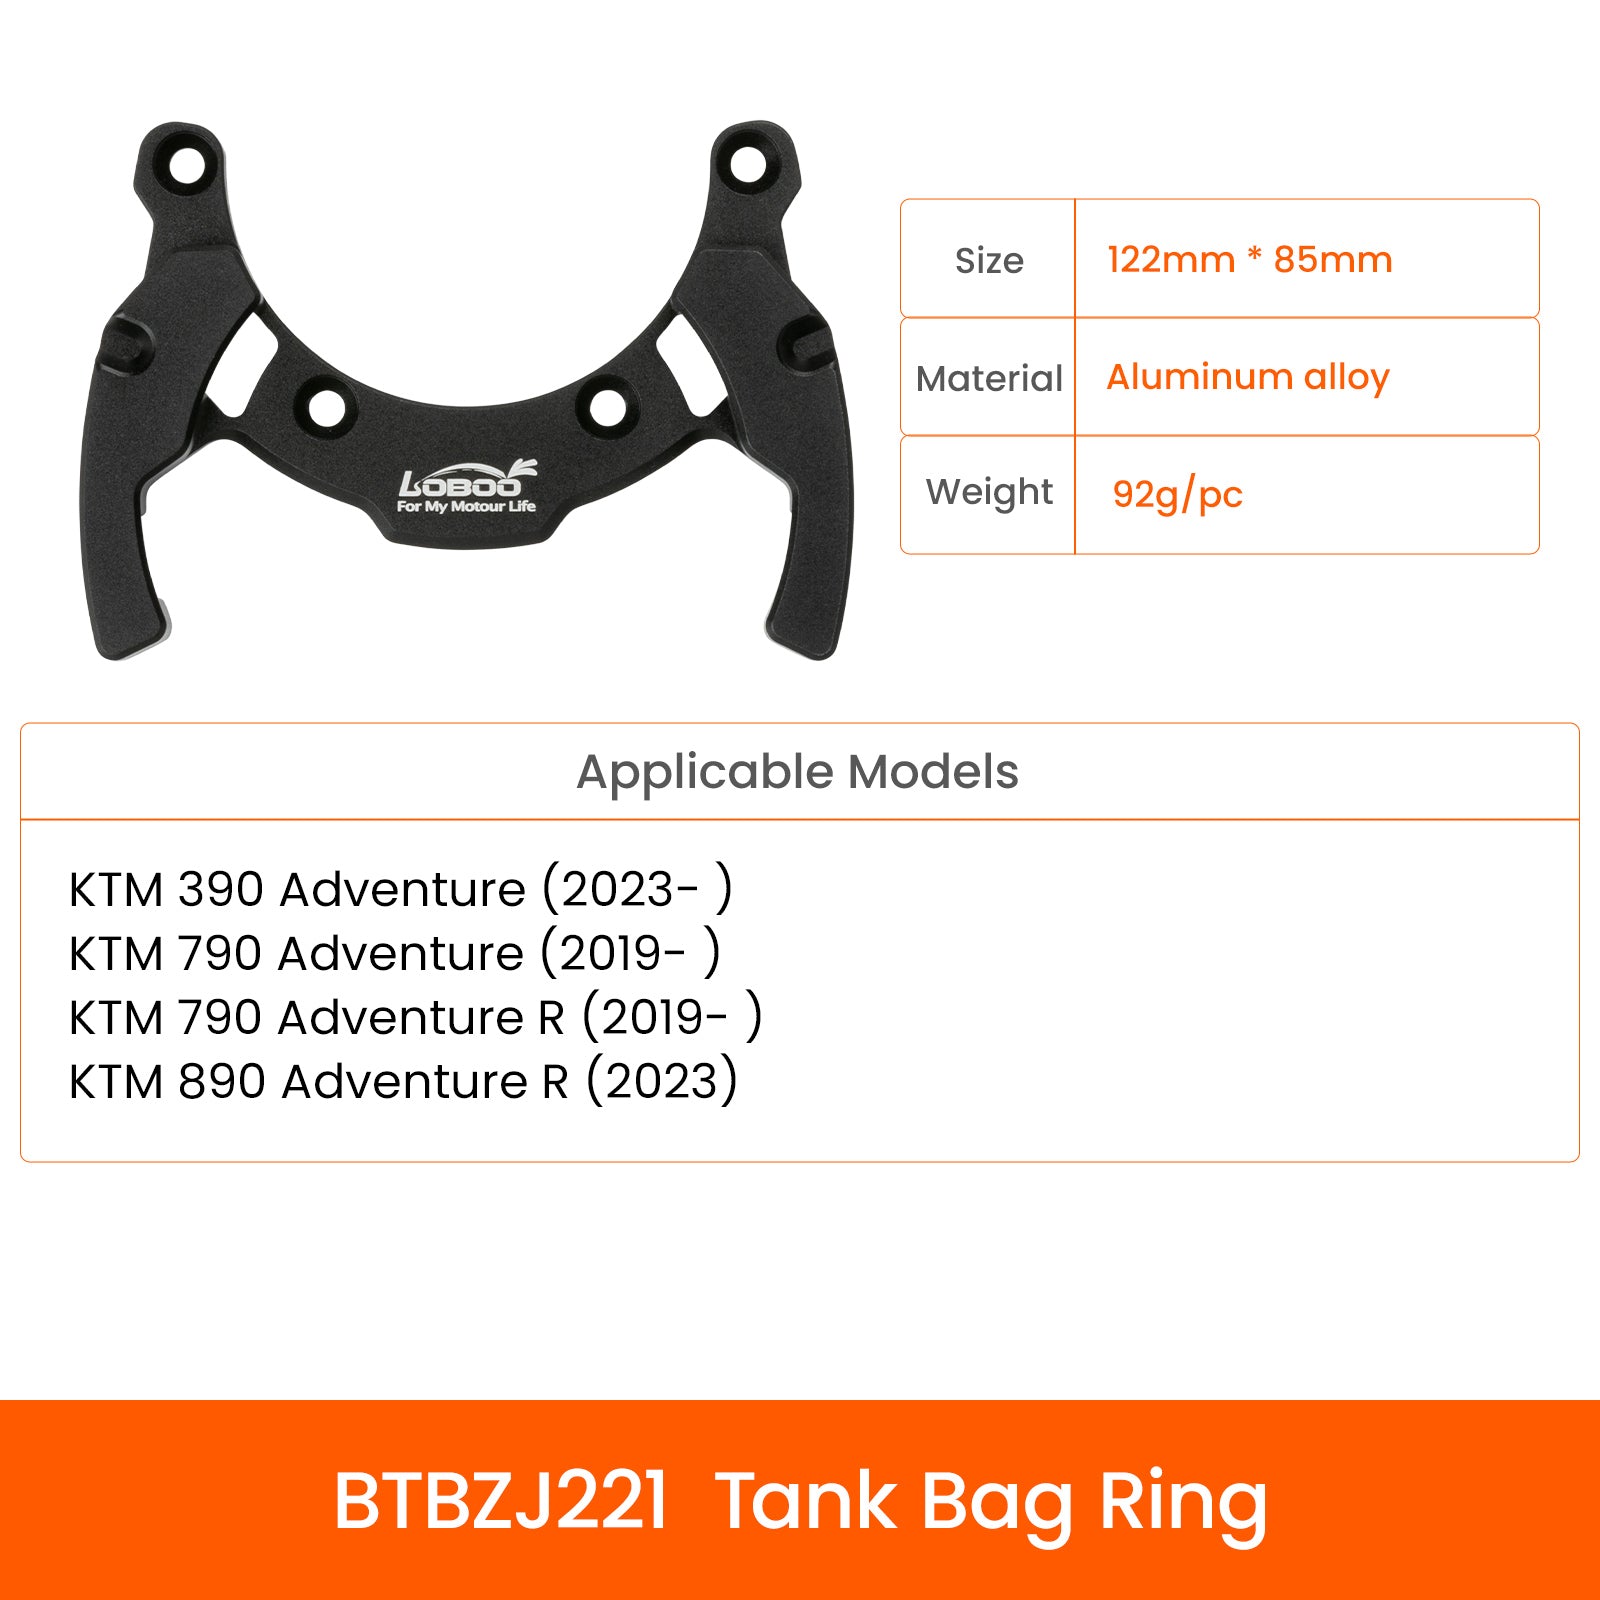
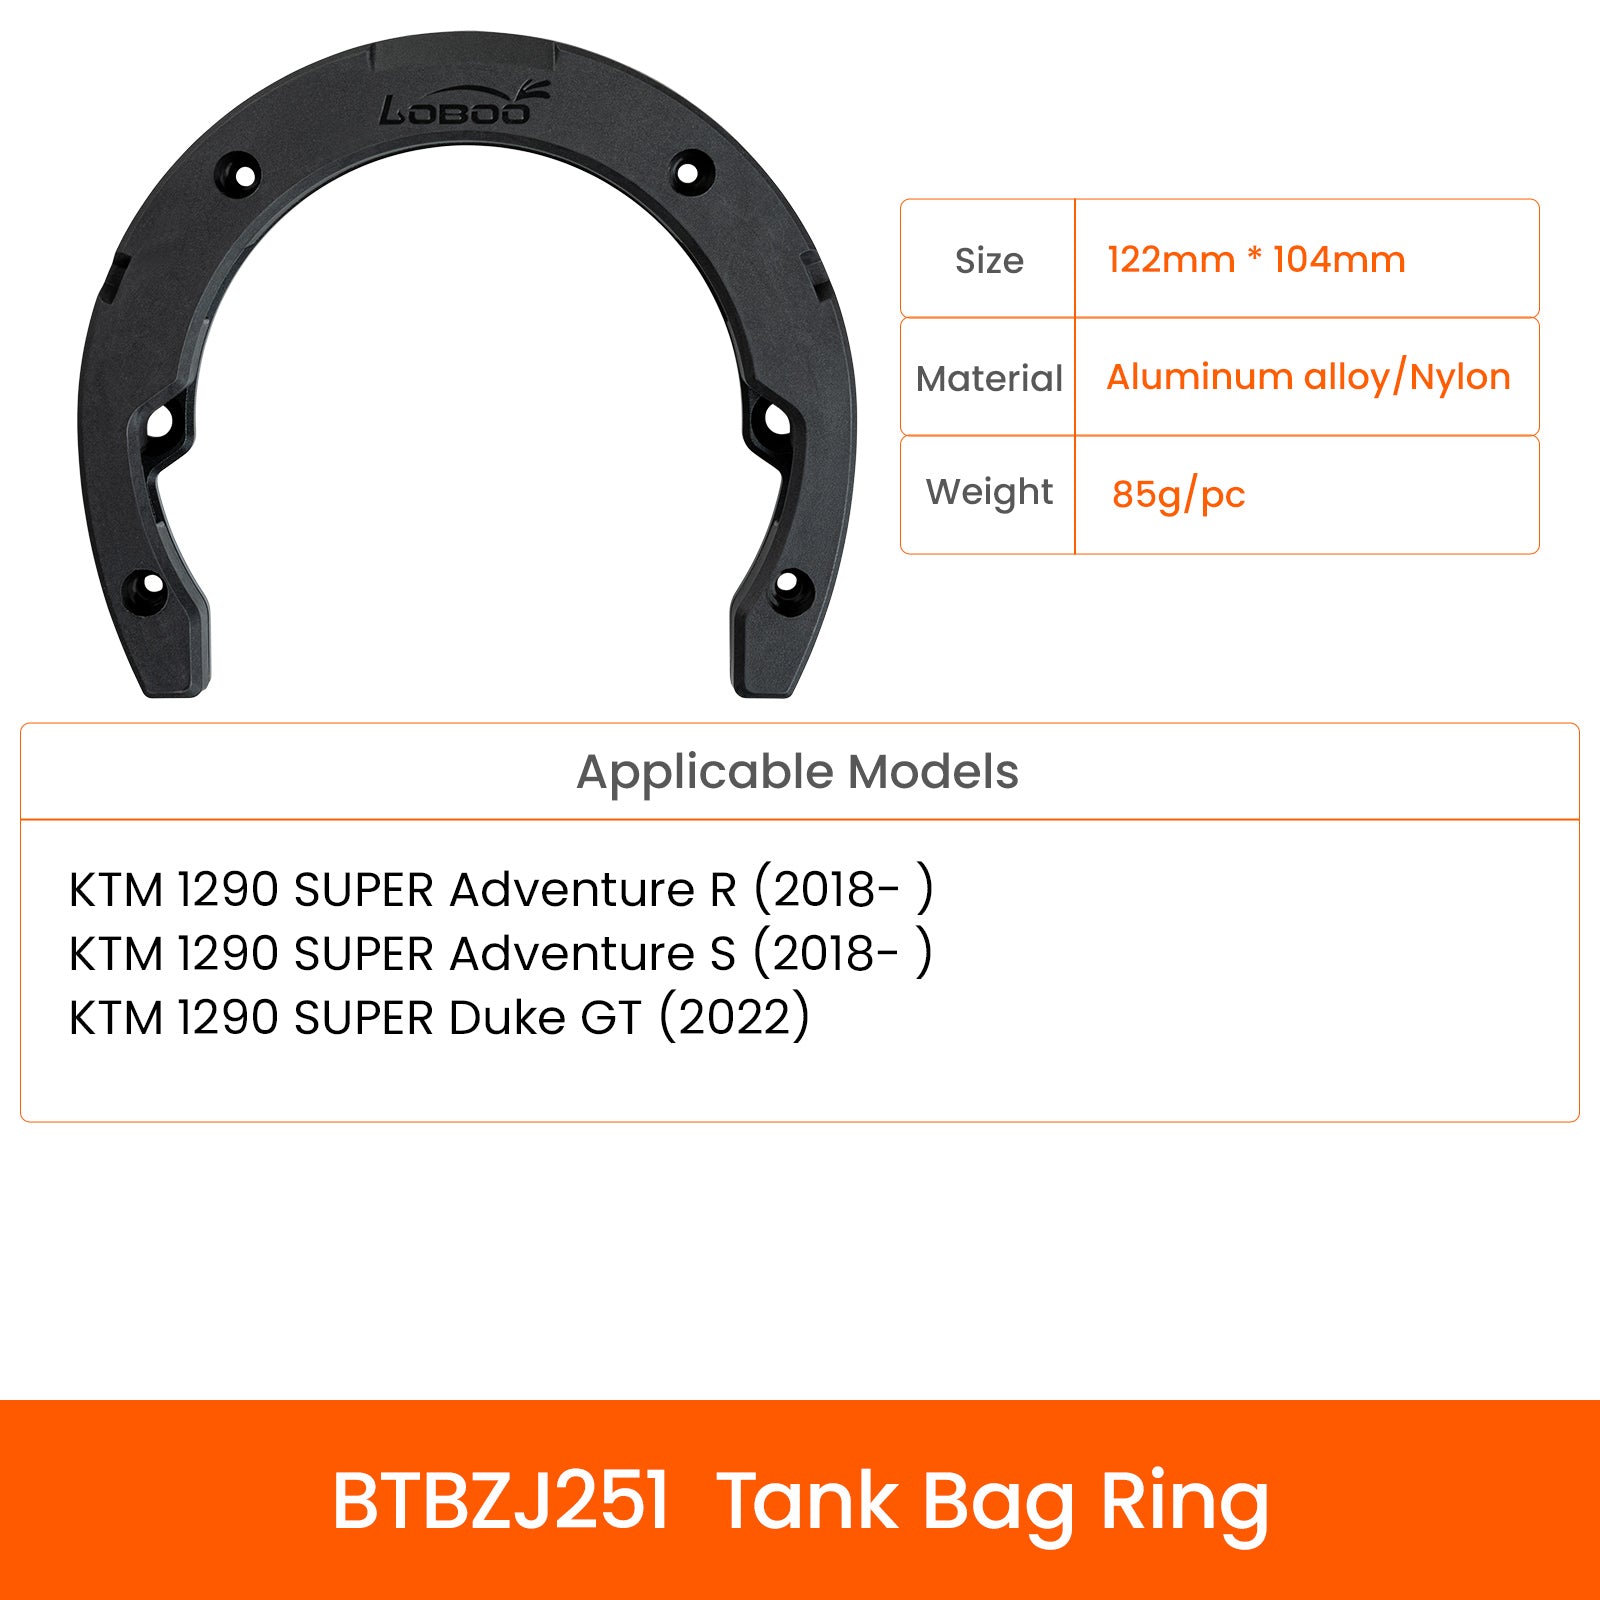
This is why specific solutions for BMW R 1250 GS and R 1300 GS, KTM 890 Adventure, Honda Africa Twin, Ducati DesertX, or Triumph Tiger should not be read merely as a catalog convenience. They help you understand in advance whether the installation will be clean and whether the final position of the navigator will make sense while riding.
Those with a less bulky bike or a mid-range touring motorcycle, such as the F 850 GS, Himalayan, or some slimmer twin-cylinders, often need to be even more careful. Space exists, but it's less forgiving of errors. An overly protruding mount or a very large phone can become intrusive in movements, especially when standing.
What to Consider Before Choosing
If you want to avoid a wrong purchase, think in this order: device, position, type of use, and only then the attachment system. This is the most practical approach.
If you ride 800 km in two days, continuous readability is paramount. If you go out for weekends with a lot of dirt roads, compactness and vibration control become more important. If you travel for weeks, the real issue becomes the continuity of the system: a stable mount, reliable power, and easy-to-inspect installation even far from the garage.
It also pays to be honest about your own use. Many buy thinking of the extreme trip they'll take once, but they'll use the bracket ten times more across alpine passes, rain, heat, and frequent stops. Better a solution consistent with 90 percent of your outings than a theoretically perfect and everyday inconvenient system.
At Endurrad, model selection makes sense precisely here: it reduces the margin of error and brings you closer to an installation that truly works on your bike, not on a generic catalog photo.
When you choose a navigation mount, you're not just adding an accessory. You're deciding where your gaze will fall thousands of times during your trip. If that position is right, you'll forget about it. And that's exactly what a good mount should do.







Share:
Future smart displays for motorcycles: what's changing
When is an enlarged kickstand plate needed?