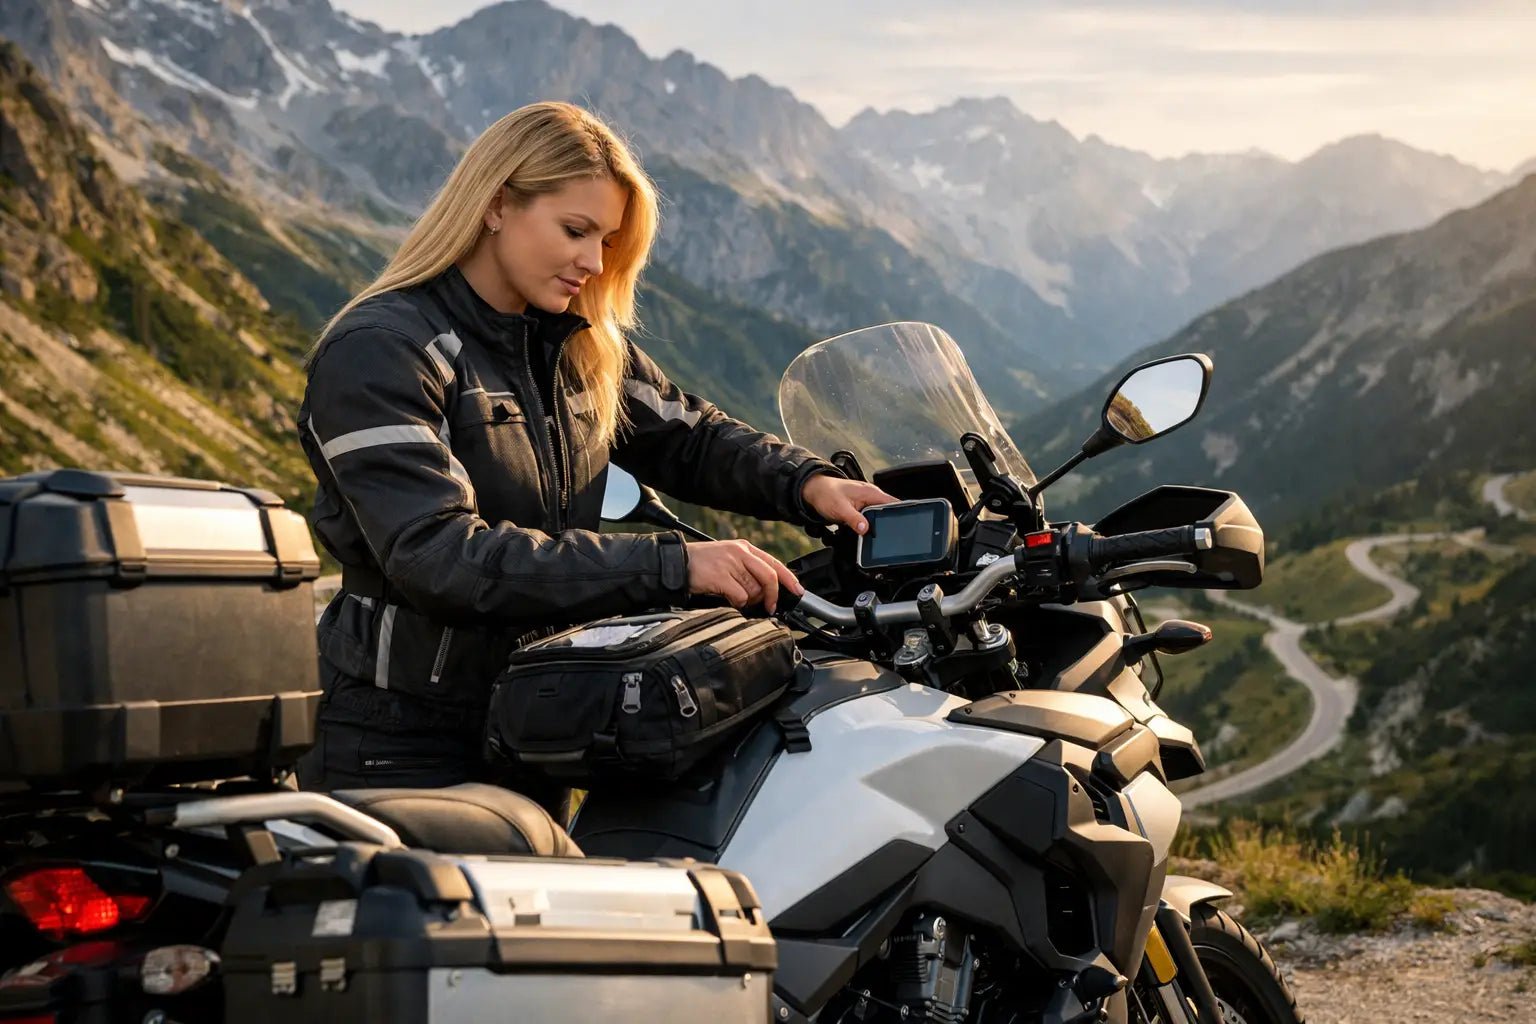
After 300 km, it's not your "back" in general that hurts. It's a specific spot: between your shoulder blades, on your right wrist, on the outside of your knee, or in your lumbar region when you slow down in traffic or stand on the pegs. That's the best place to start if you want to understand how to adjust your touring motorcycle's ergonomics without changing random parts.
On touring motorcycles, especially adventure and touring models like GS, Africa Twin, Tiger, Ténéré, or KTM Adventure, ergonomics aren't just a comfort detail. They determine how sharp you remain after a long day, how well you control the bike while seated, and how effectively you move when the asphalt ends. The right adjustment isn't the "most comfortable" one in the garage. It's the one that tires you least when alternating between transfers, slow turns, wind, and some sections standing up.
How to Adjust Touring Motorcycle Ergonomics Based on Symptoms
The best method is to interpret your body's signals and connect them to the saddle-handlebar-footpeg triangulation. If you feel excessive pressure on your wrists, it's often not the handlebar's fault itself. It could be a saddle that causes you to slide forward, or a footpeg-to-saddle distance that cramps your legs too much and shifts your torso towards the tank.
If, however, the discomfort is in your hips or knees after a couple of hours, the problem might lie in the saddle height or footpeg position. On a BMW R 1250 GS or a Honda Africa Twin, a few millimeters of difference significantly change the knee angle during long transfers. On a Ténéré 700 or a KTM 890 Adventure, how often you ride standing up also matters a lot: an excellent seated adjustment can become uncomfortable as soon as you leave the asphalt.
Your neck and shoulders tell another story. If you find yourself tense in the upper body, usually the handlebars are too far, too low, or rotated incorrectly relative to your natural posture. There's no need to "open" them all the way towards you: if you overdo it, you'll close your elbows and lose precision when entering turns and standing on the pegs.
The Right Foundation is the Saddle, Not the Handlebars
Many start with the handlebars because it's the most visible and easiest element to adjust. In reality, the saddle is where everything begins. If the support is incorrect, you compensate with your arms, back, and legs.
A saddle that is too low might seem reassuring for maneuvers, but on long rides, it increases knee flexion and unevenly loads the pelvis. A saddle that is too high, conversely, improves the leg angle but can make you feel less secure when stopped, especially with a loaded bike and uneven ground. There's no universal rule here: it depends on your height, actual inseam, and how often you travel with luggage or a passenger.
First, check three things. You should be able to sit in the part of the saddle you'll actually use while riding, without being pushed forward. You should be able to touch the ground consistently with your usage, not necessarily with both feet flat. And you should be able to shift your pelvis slightly back or forth during the day. If you remain "stuck" in a single spot, after hours the pressure will always concentrate there.
On many adventure bikes, the standard saddle adjustment already offers a useful margin. It's worth trying it seriously before considering a replacement. If the problem persists, a saddle with a different shape changes more than just increasing padding. More foam doesn't necessarily mean more comfort: if it sags too much, after a few hours the support worsens.
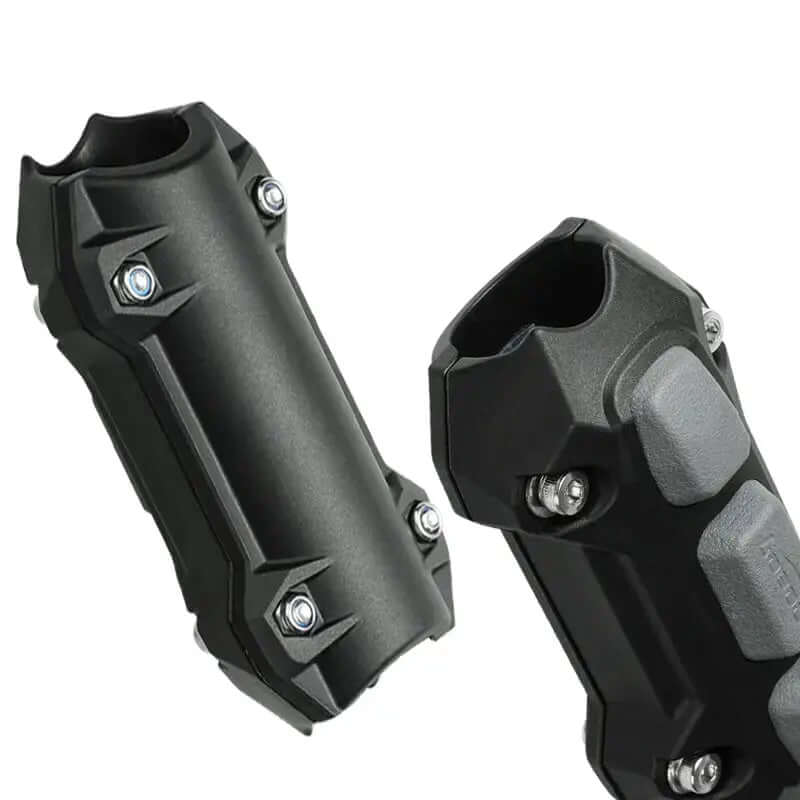
Handlebars: Height, Reach, and Rotation
Once the saddle is in place, the handlebars should be adjusted to allow you to keep your elbows soft and shoulders relaxed. When seated, with your hands on the grips and fingers ready on the brake and clutch, you shouldn't have to reach for the controls with your torso. If you stretch to reach them, by the end of the day you'll feel it in your trapezius muscles.
The classic mistake is to raise or bring them too close because it feels natural in the garage. On the road, that choice can lighten the front end too much and make riding less precise. The other mistake is copying the position of another rider on the same bike. A Ducati DesertX with a 1.90m tall rider and frequent off-road use requires different compromises than a Tiger 900 used primarily for asphalt and fast touring.
Handlebar rotation matters more than it seems. If rotated too far back, your wrists will be awkwardly positioned, and your elbows will be too close to your body. If rotated too far forward, you'll be reaching for the controls and straining your shoulders and back. The correct position is one where your wrist and forearm remain as aligned as possible, both when seated and when standing on the pegs for a gravel or uneven section.
The angle of the levers also needs to be adjusted. If the brake and clutch are too high, you'll hyperextend your wrist upwards when seated; if they're too low, you'll struggle to reach them when standing. Here, it's best to find a realistic compromise based on how you actually ride. If you ride 90% on asphalt, it doesn't make sense to sacrifice everything for standing riding. However, if you frequently alternate between dirt roads and transfers, the adjustment must work well in both conditions, even if not perfect in just one.
Footpegs and Triangulation: Where the Real Fatigue Plays Out
Footpegs aren't just for when you stand up. They determine the angle of your knees and hips for hundreds of kilometers. On bikes like the R 1300 GS, 1290 Super Adventure, or Tiger 1200, a slightly lower or wider footpeg can make a difference on long trips, but it always introduces a compromise: more legroom can mean less ground clearance or a less tucked position for sporty asphalt riding.
Therefore, the correct question isn't "low footpegs yes or no?", but "where do I get tired and how do I use the bike?". If you do 700-800 km stages, opening the knee angle makes sense. If you do mixed weekends with technical standing sections, the footpeg's surface area and the grip of your boot on the peg also matter a lot, especially in wet or uneven conditions.
The width of the footpegs helps with standing control, but when seated, what you truly feel is their relative height to the saddle. That's why changing only one element rarely solves everything. Ergonomics means a system, not isolated parts.
Windscreen and Airflow are Part of Ergonomics
When talking about posture, the wind is often forgotten. Yet, a poorly adjusted windscreen forces you into continuous neck and shoulder tension. It's not just a matter of protection. It's a matter of turbulence, noise, and micro-corrections you make without realizing it.
If the airflow hits your visor in the wrong spot, after an hour you'll start to stiffen up. If, however, it hits your helmet cleanly or is stably deflected over it, your body works less. Here, the rider's height, helmet, and even shoulder width change the outcome. An effective adjustment for a rider on an F 850 GS might not work the same way on an Africa Twin with a tank bag and a different setup.
That's why it's advisable to do short but precise tests. Modify only one parameter at a time and always repeat the same stretch. If you change the saddle, handlebars, and fairing together, in the end, you won't understand what truly improved.
How to Make a Sensible Adjustment Without Endless Trial and Error
The cleanest way to understand how to adjust touring motorcycle ergonomics is to work sequentially. First, set the saddle, then check the footpegs, and only then adjust the handlebars and levers. The windscreen comes last, once your posture is already stable.
After each modification, take at least a one-hour ride, preferably with a fast section, an urban section, and a secondary road. The sensations of the first ten minutes matter little. The real problems arise when the body stops compensating.
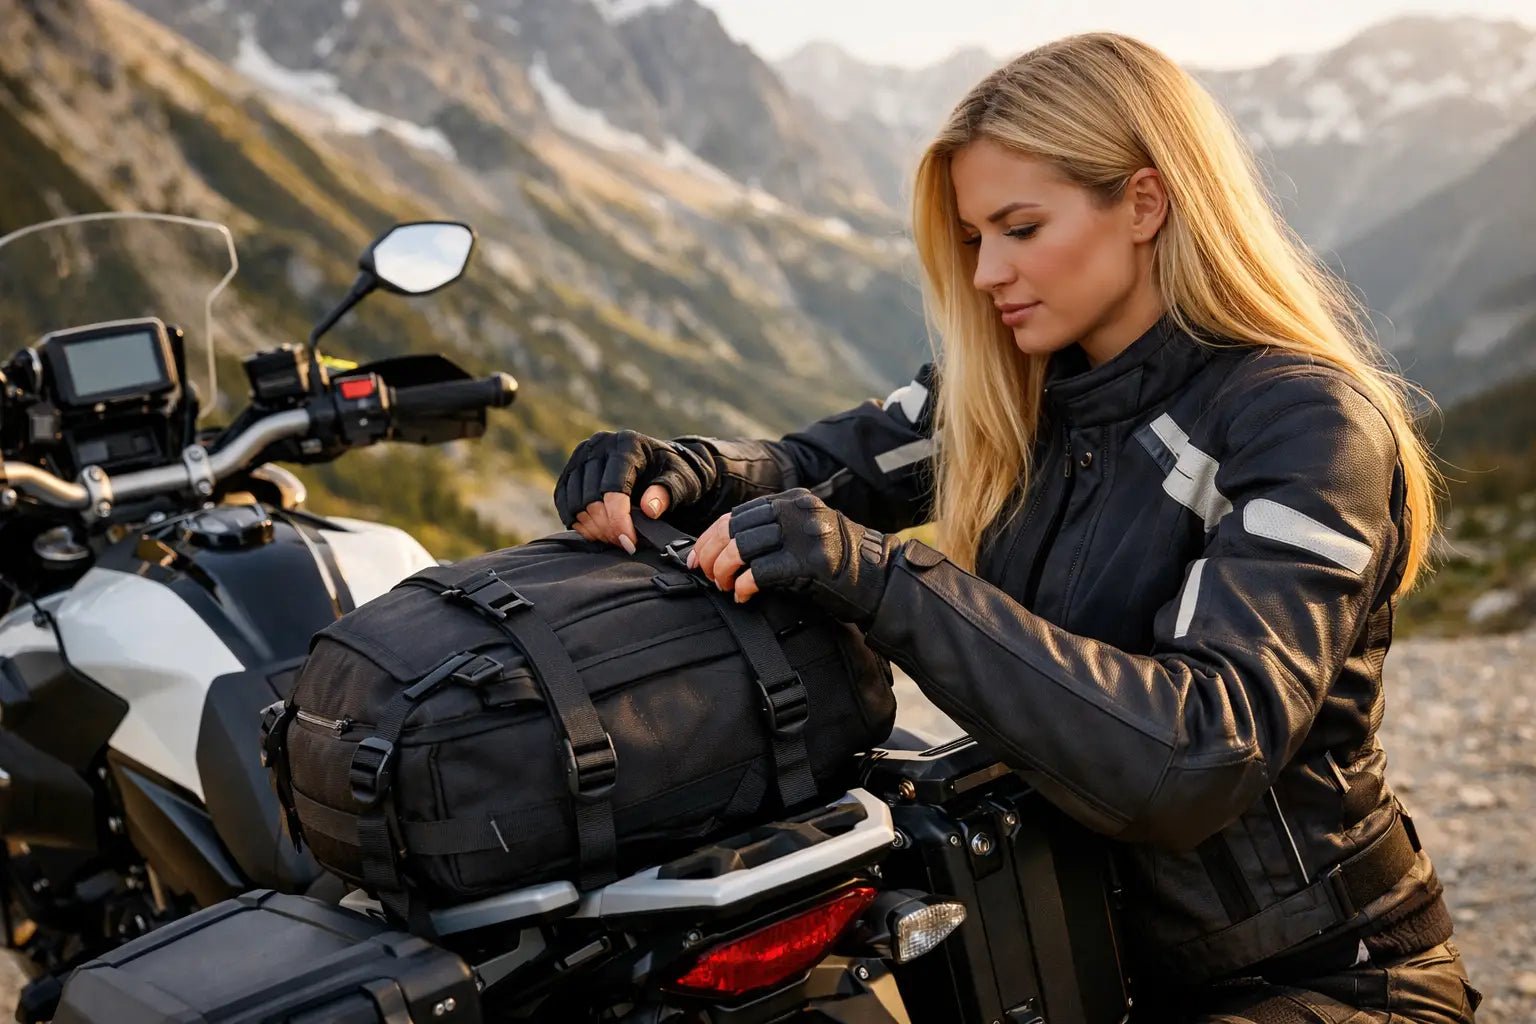
If you often travel with side cases, a top case, or a passenger, try the bike in that configuration. An acceptable position when unloaded can become tiring when fully loaded, especially if the weight at the back makes you reach for the handlebars with your shoulders or changes your pressure point on the saddle.
Also keep in mind that ergonomics is not just geometry. Very rigid boots, pants with poorly articulated protection, or a jacket that pulls at the shoulders can distort perception. Before attributing everything to the bike, verify that your riding gear also works well with real movements.
When to Intervene with Dedicated Components
If the standard adjustment has reached its limit, then it makes sense to switch to specific components. Handlebar risers, saddles with dedicated shapes, adjustable or wider footpegs, and grips with different diameters only make sense when you know what problem they need to solve. Not before.
On this point, a simple rule applies: buying the right part costs less than buying twice. If you have a bike seriously prepared for travel, model and year compatibility are as important as the material. A component that looks good on paper but is poorly mounted or in a forced position worsens control instead of improving it.
For those who prepare their bikes thoroughly, as is often the case for those who choose Endurrad, the advantage is not having more accessories. It's achieving a configuration that remains consistent after hours of riding, in the rain, with luggage, and with fatigue. That's when you understand if the ergonomics are truly well-adjusted.
The final test isn't in the garage. It's when you get off after a full day and still feel like putting your helmet back on the next day.


Share:
Is a dashcam needed on a touring motorcycle?
Evolution of motorcycle travel luggage: what matters