
Riding a poorly prepared motorcycle is noticeable after just a few kilometers. Annoying vibrations, incorrect setup, shifting luggage, underestimated range: on long trips, small errors become real problems. This is why understanding how to prepare a motorcycle for a long trip doesn't just mean a quick check before departure, but building a more reliable, stable motorcycle, suitable for many hours in the saddle.
Whether you're riding an adventure, touring, or dual-sport bike, the logic is always the same: first the mechanical base, then protection, then comfort, cargo, and navigation. Skipping the order often leads to wasted money or installing accessories that are only useful on paper.
How to prepare a motorcycle for a long trip, starting with the mechanics
The first check concerns the actual condition of the motorcycle, not what you remember from the last service. Engine oil, brake fluid, coolant, final drive, brake pads, and tires must be evaluated based on the kilometers you will travel, not just their current condition. A tire at 50% might still seem good in the city, but if you're about to face 3,000 km with varying loads and temperatures, the margin changes.
For chain-driven motorcycles, check wear, tension, and lubrication. If the drivetrain is near the end of its life, it's best to replace it before the trip. For shaft-driven motorcycles, the check is simpler, but it shouldn't be taken for granted: always check for leaks, abnormal play, and oil condition if required by maintenance.
The braking system also deserves special attention. A loaded motorcycle brakes differently, especially on long transfers or mountain passes. If the lever is spongy or the braking is not consistent, fix it before leaving. The quality of components also plays a significant role in this aspect: more precise brake lines, resistant to intense work, can make a difference on demanding trips, as further discussed in HEL Performance: brake lines and braking systems.
Setup, suspension, and weight distribution
One of the most evident differences between a ready motorcycle and one that is just loaded is in the setup. If you add panniers, a saddlebag, equipment, and perhaps a passenger, the standard preload is almost never enough. The rear drops, the front lightens, and the motorcycle becomes less precise when entering corners, longer in braking, and more tiring to ride.
Adjusting the preload is the first step. If the motorcycle allows it, also adjust the rebound according to the load. There's no need to chase a race setup, but to bring the motorcycle back into proper balance. This is even more important on adventure bikes that alternate between asphalt, rough roads, and light off-road.
Weight distribution also needs careful consideration. Heavier items should be placed low and as close to the center of gravity as possible. Putting everything in the top case is convenient, but often worsens stability and inertia. Side panniers, if well mounted and compatible with the motorcycle's frame, help much more with load management. However, overall width also matters: more volume doesn't automatically mean more practicality.
Protecting the motorcycle where it really matters
On a long journey, protection is not an aesthetic detail. A standstill fall, an incorrect footing on uneven ground, or a stone thrown by the front wheel can compromise the continuation of the trip or turn it into a long series of improvised repairs.
Priorities change based on the motorcycle and its use. On a BMW GS or an Africa Twin, well-designed crash bars, engine guards, and truly resistant handguards may make sense. On a KTM Adventure used even off-road, the choice of crash bars requires attention to dimensions, mounting points, and compatibility with other accessories. If you have a Honda or a KTM, you can delve deeper into the topic in the dedicated content on Honda Africa Twin engine guard: how to choose and KTM Adventure crash bars: how to choose well.
Handguards are another often underestimated component. On long trips, they not only protect hands from wind, rain, and debris, but also levers and controls in case of impact or fall. The difference between a lightweight accessory and a structural system is seen when it really matters.
Riding comfort: what you feel after 400 km
A motorcycle can be reliable but tiring. And after several hours in the saddle, fatigue also means less attention. The right preparation improves comfort where it counts: posture, aerodynamic protection, leg support, and vibration management.
The windscreen must protect without creating annoying turbulence on the helmet. There is no right size for everyone, because rider height, helmet, and riding position greatly change the result. If you feel continuous pressure on your shoulders or excessive noise on your helmet, that setup needs to be reviewed.
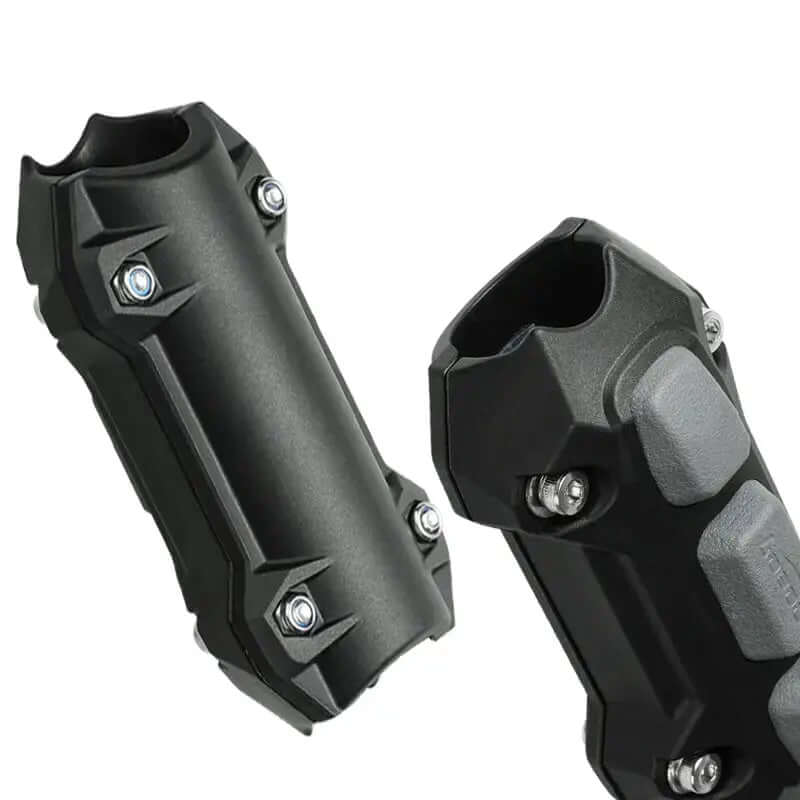
Handlebars, risers, footpegs, and seat also have more impact than they seem. A slightly more natural position reduces the load on wrists, back, and knees. On adventure bikes used both seated and standing, ergonomics must be carefully evaluated so as not to compromise control in mixed riding.
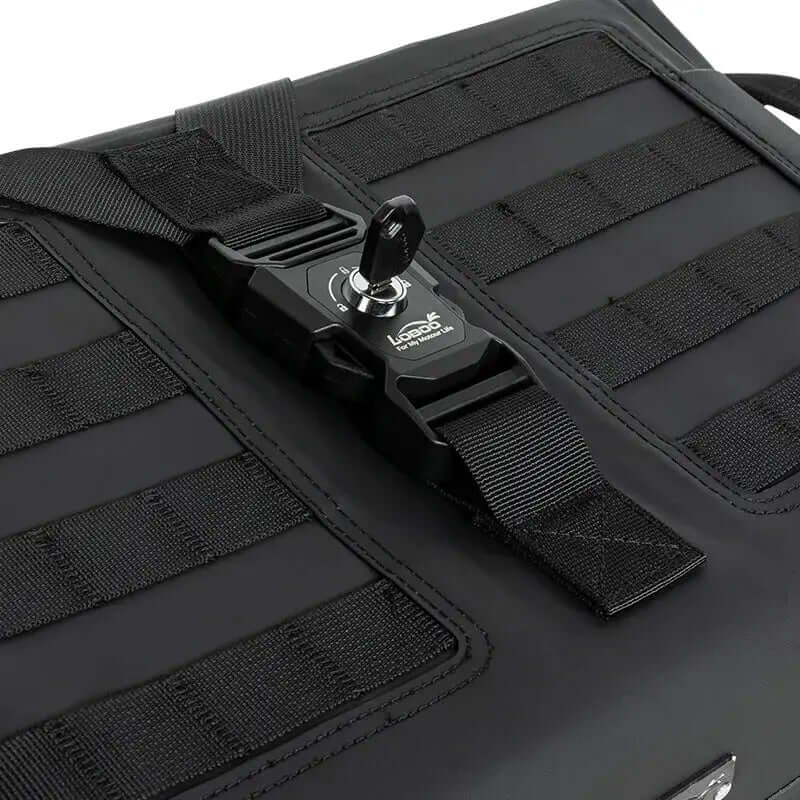
Tank grip pads or functional protections may seem like details, but they help with body stability during braking and motorcycle management with technical clothing. For touring and adventure, they are a concrete improvement, not a secondary accessory.
Luggage and load capacity without improvising
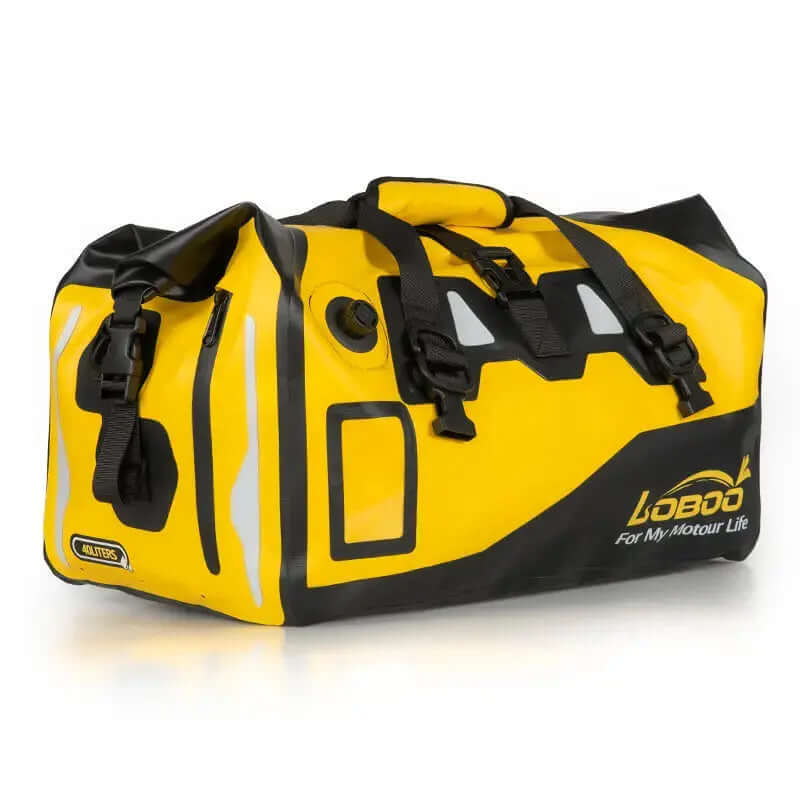
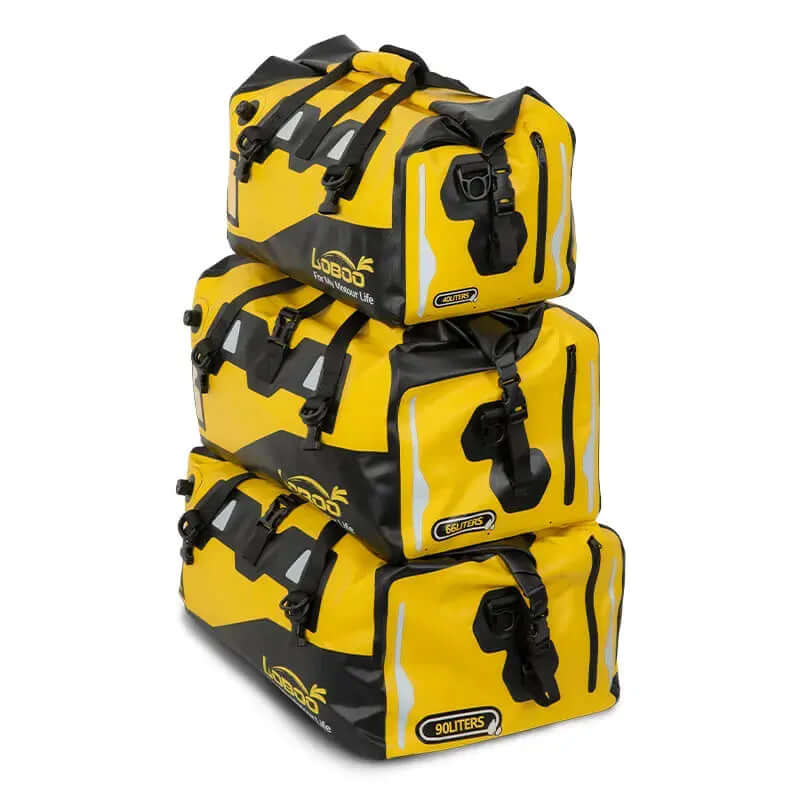
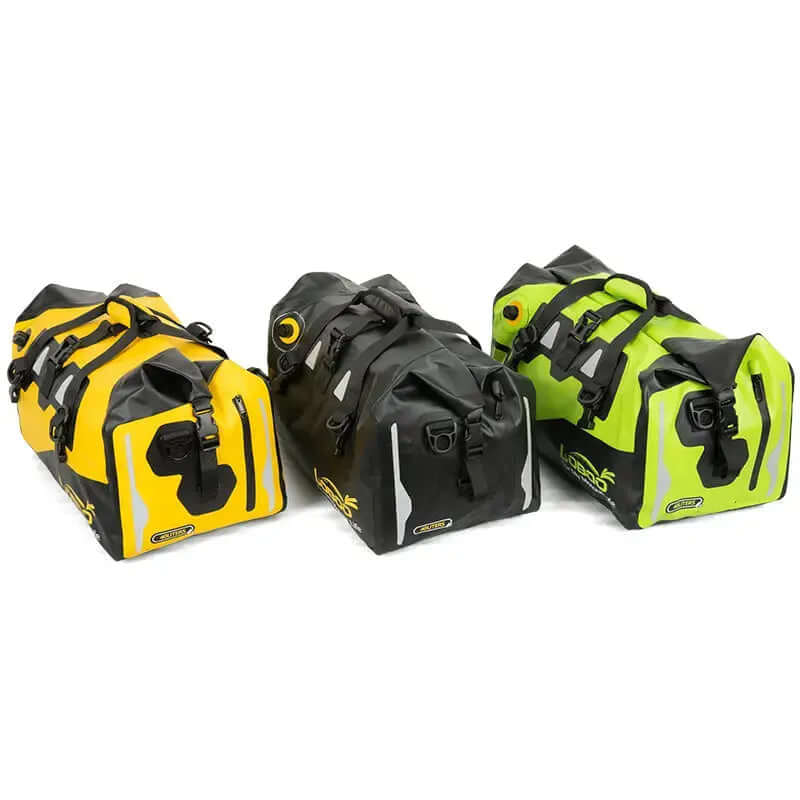
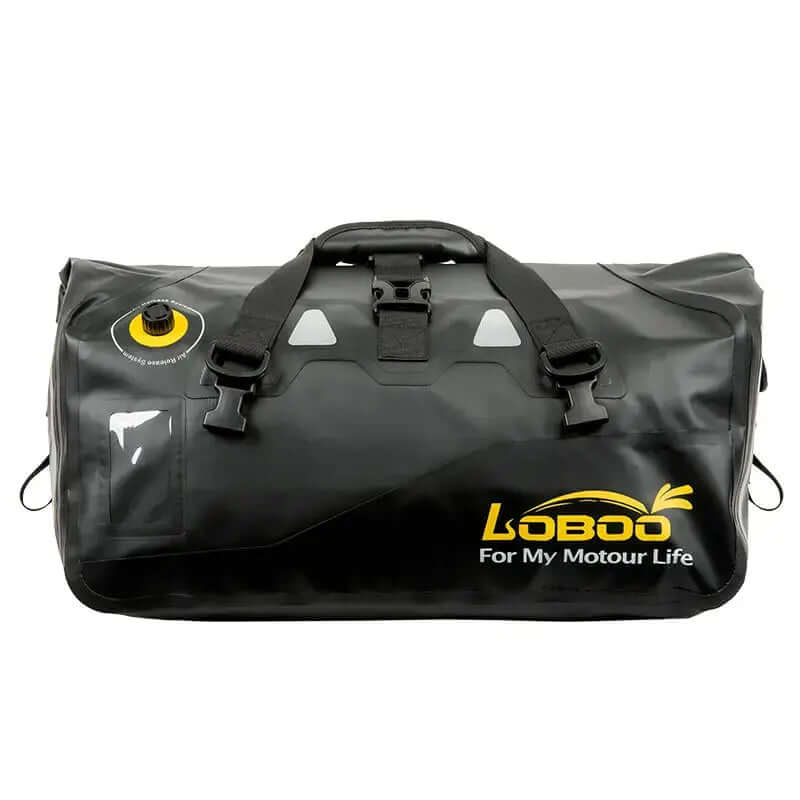
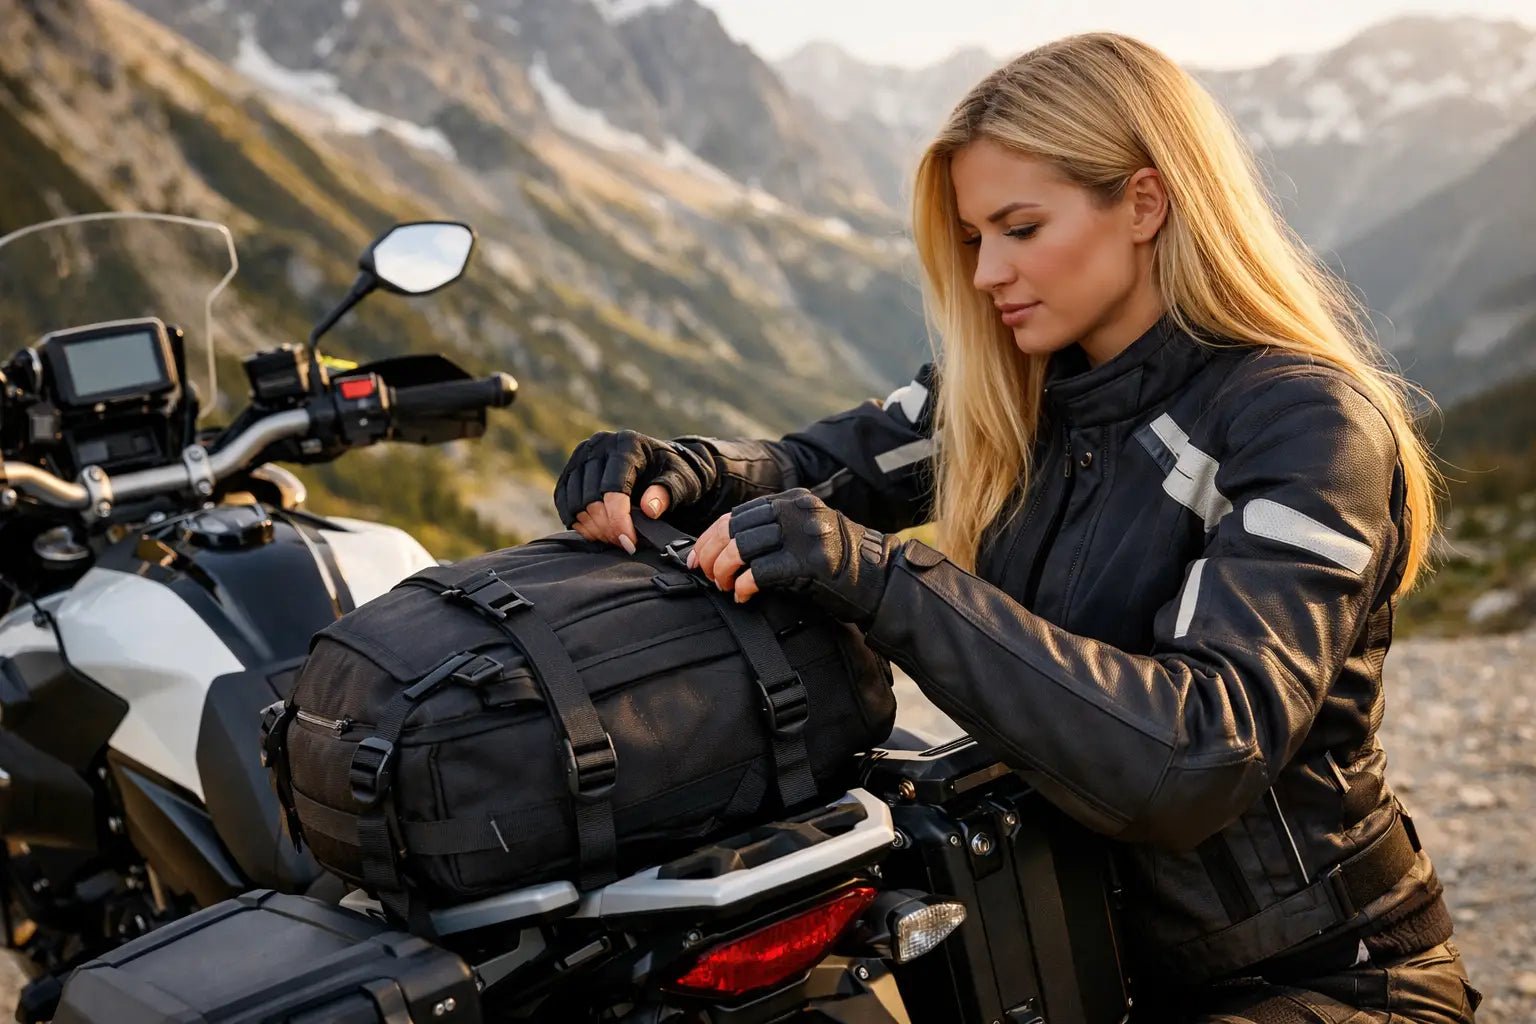
How you load the motorcycle matters almost as much as what you carry. A valid transport system must be stable, waterproof, compatible with the motorcycle model, and consistent with the type of trip. Pure asphalt, mixed terrain, light off-road, and two-up travel require different solutions.
Aluminum panniers offer structure, capacity, and content protection, but increase bulk and weight. Quality semi-rigid bags can be more forgiving in case of impact and more suitable for those who alternate between road and dirt. There is no universal choice: it depends on the itinerary, trip duration, and riding style.
Before leaving, always do a real test with the motorcycle loaded. It's not enough to attach the bags in the garage. You need to ride, brake, make U-turns, hit some bumps, and check that nothing moves or interferes with the exhaust, footpegs, or suspension. Many problems only emerge on the road.
If you want to avoid the most common mistakes in motorcycle setup, it is also useful to read 10 mistakes to avoid when preparing a motorcycle.
Navigation, electrical power, and visibility
As the journey lengthens, electronics management becomes central. Navigator, smartphone, additional displays, USB sockets, and mounts must function well in rain, vibrations, and many hours of use. An unstable mount or intermittent charging are annoyances that become serious when you depend on navigation.
If you use your smartphone as your main tool, choose a serious anti-vibration mount and a position that is legible without distracting your gaze too much. If you prefer a more dedicated solution for travel, a navigator or a motorcycle display compatible with touring use can offer greater legibility, better water resistance, and more practical integration with gloves. To navigate between options, Best navigator for adventure motorcycles: how to choose it and Waterproof CarPlay motorcycle display: how to choose it can be useful.
Then there's the issue of visibility. If you anticipate riding at dawn, dusk, or in bad weather, a well-designed supplementary lighting system greatly improves road reading and your presence in traffic. There's no need to add light haphazardly: the quality of the beam, positioning, and electrical integration matter.
What to bring so you don't get stuck
Serious preparation also includes what can save your day in case of an unforeseen event. The bare minimum includes a tire repair kit suitable for your wheel type, a mini compressor or inflation system, essential tools truly compatible with your motorcycle, fuses, some cable ties, and technical tape. If you have added electrical accessories, check that the wiring is tidy, protected, and easy to inspect.
Bringing too much is a frequent mistake. The goal is not to turn the motorcycle into a mobile workshop, but to have what you need to restart or to reach the next assistance point. Here too, a simple rule applies: every item must have a clear purpose.
The last check before leaving
Preparation only finishes after a road test with the motorcycle in its final configuration. Do at least one outing with full luggage, active navigation, and travel gear. This serves to check ground clearance, stability, comfort, interference, and accessibility of items you use most often.
Also check details that are often overlooked: tire pressure at full load, tightening of brackets and supports, headlight position with loaded setup, handlebar freedom of movement, quick access to documents and rain gear. These are details, but on a trip, details make all the difference.
Properly preparing a motorcycle for a long distance does not mean filling it with accessories. It means choosing only what truly increases reliability, protection, load capacity, and comfort on your specific model. If the setup is correct, the motorcycle stops being a variable and returns to doing what it should: taking you far, well, and without unnecessary worries.


Share:
Waterproof Motorcycle CarPlay Display: How to Choose One
Waterproof motorcycle smartphone holder: how to choose it