
If you've already put a few hundred kilometers on a BMW touring motorcycle, you know it well: the navigator is not a secondary accessory. When it's raining, when traffic changes at the last minute, or when you're following a route that alternates between asphalt and dirt, having the device in the right place makes all the difference. Understanding how to install a BMW motorcycle navigator correctly means improving readability, safety, and reliability, not just attaching a screen to the handlebars.
Before installing: what changes from one BMW to another
On BMW GS and touring models from the German manufacturer, the key point is not just where to mount the navigator, but how to integrate it with the bike. Some versions have original provisions for the navigator mount, others require a dedicated bracket, and still others work better with a crossbar above the dashboard.
An R 1250 GS with OEM pre-installation is not approached the same way as an F 850 GS without a mount installed, and a valid solution on asphalt can become uncomfortable when standing on the footpegs. For this reason, it's good to start with three simple questions: what BMW model do you have, which navigator do you want to mount, and what do you actually use your motorcycle for?
If you travel mainly on roads, you can prioritize clean integration and quick access. If you do adventure or light off-road, vibration dampening, a high position in the field of view, and the solidity of the mounting system become more important.
How to install a BMW motorcycle navigator: choosing the right mount
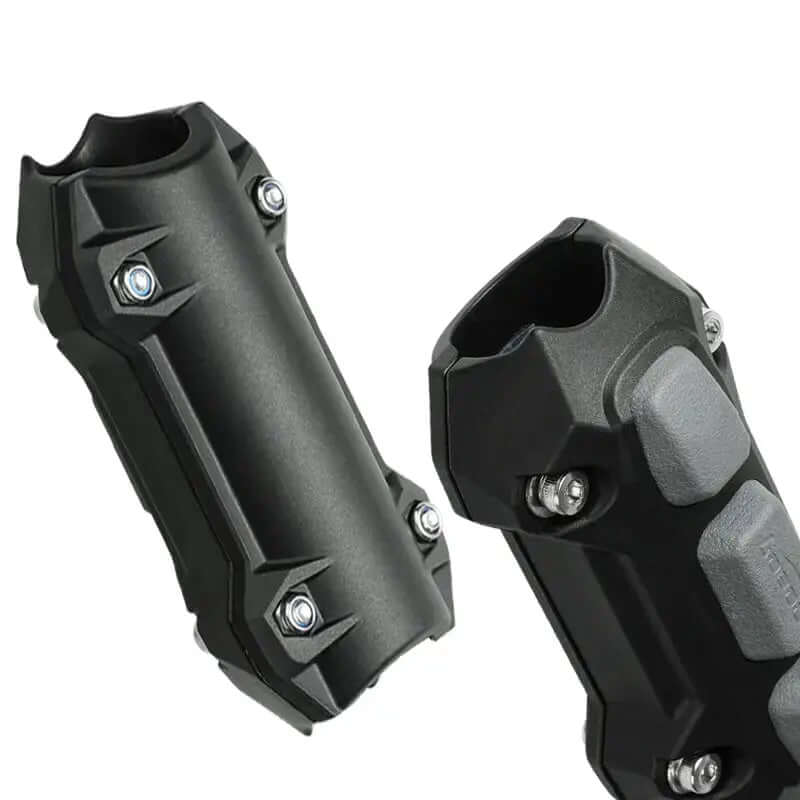
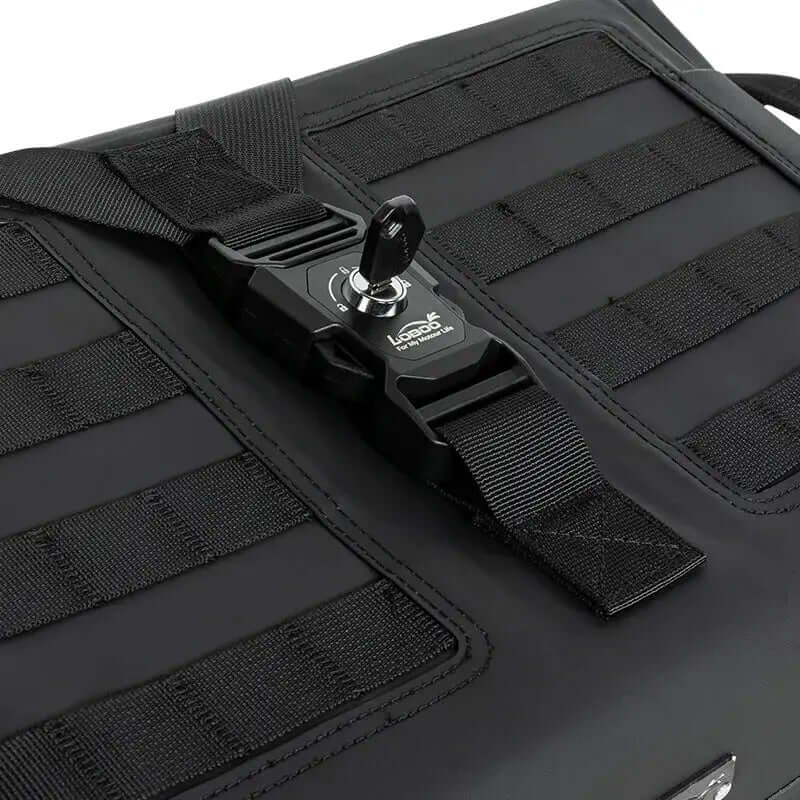
The first common mistake is thinking that all mounts are equivalent. They are not. On a BMW motorcycle, especially a GS, the mount must withstand vibrations, impacts, water, and continuous use. It must also keep the instrumentation visible and not interfere with the windshield, handguards, or handlebar adjustments.
In practice, there are three common solutions.
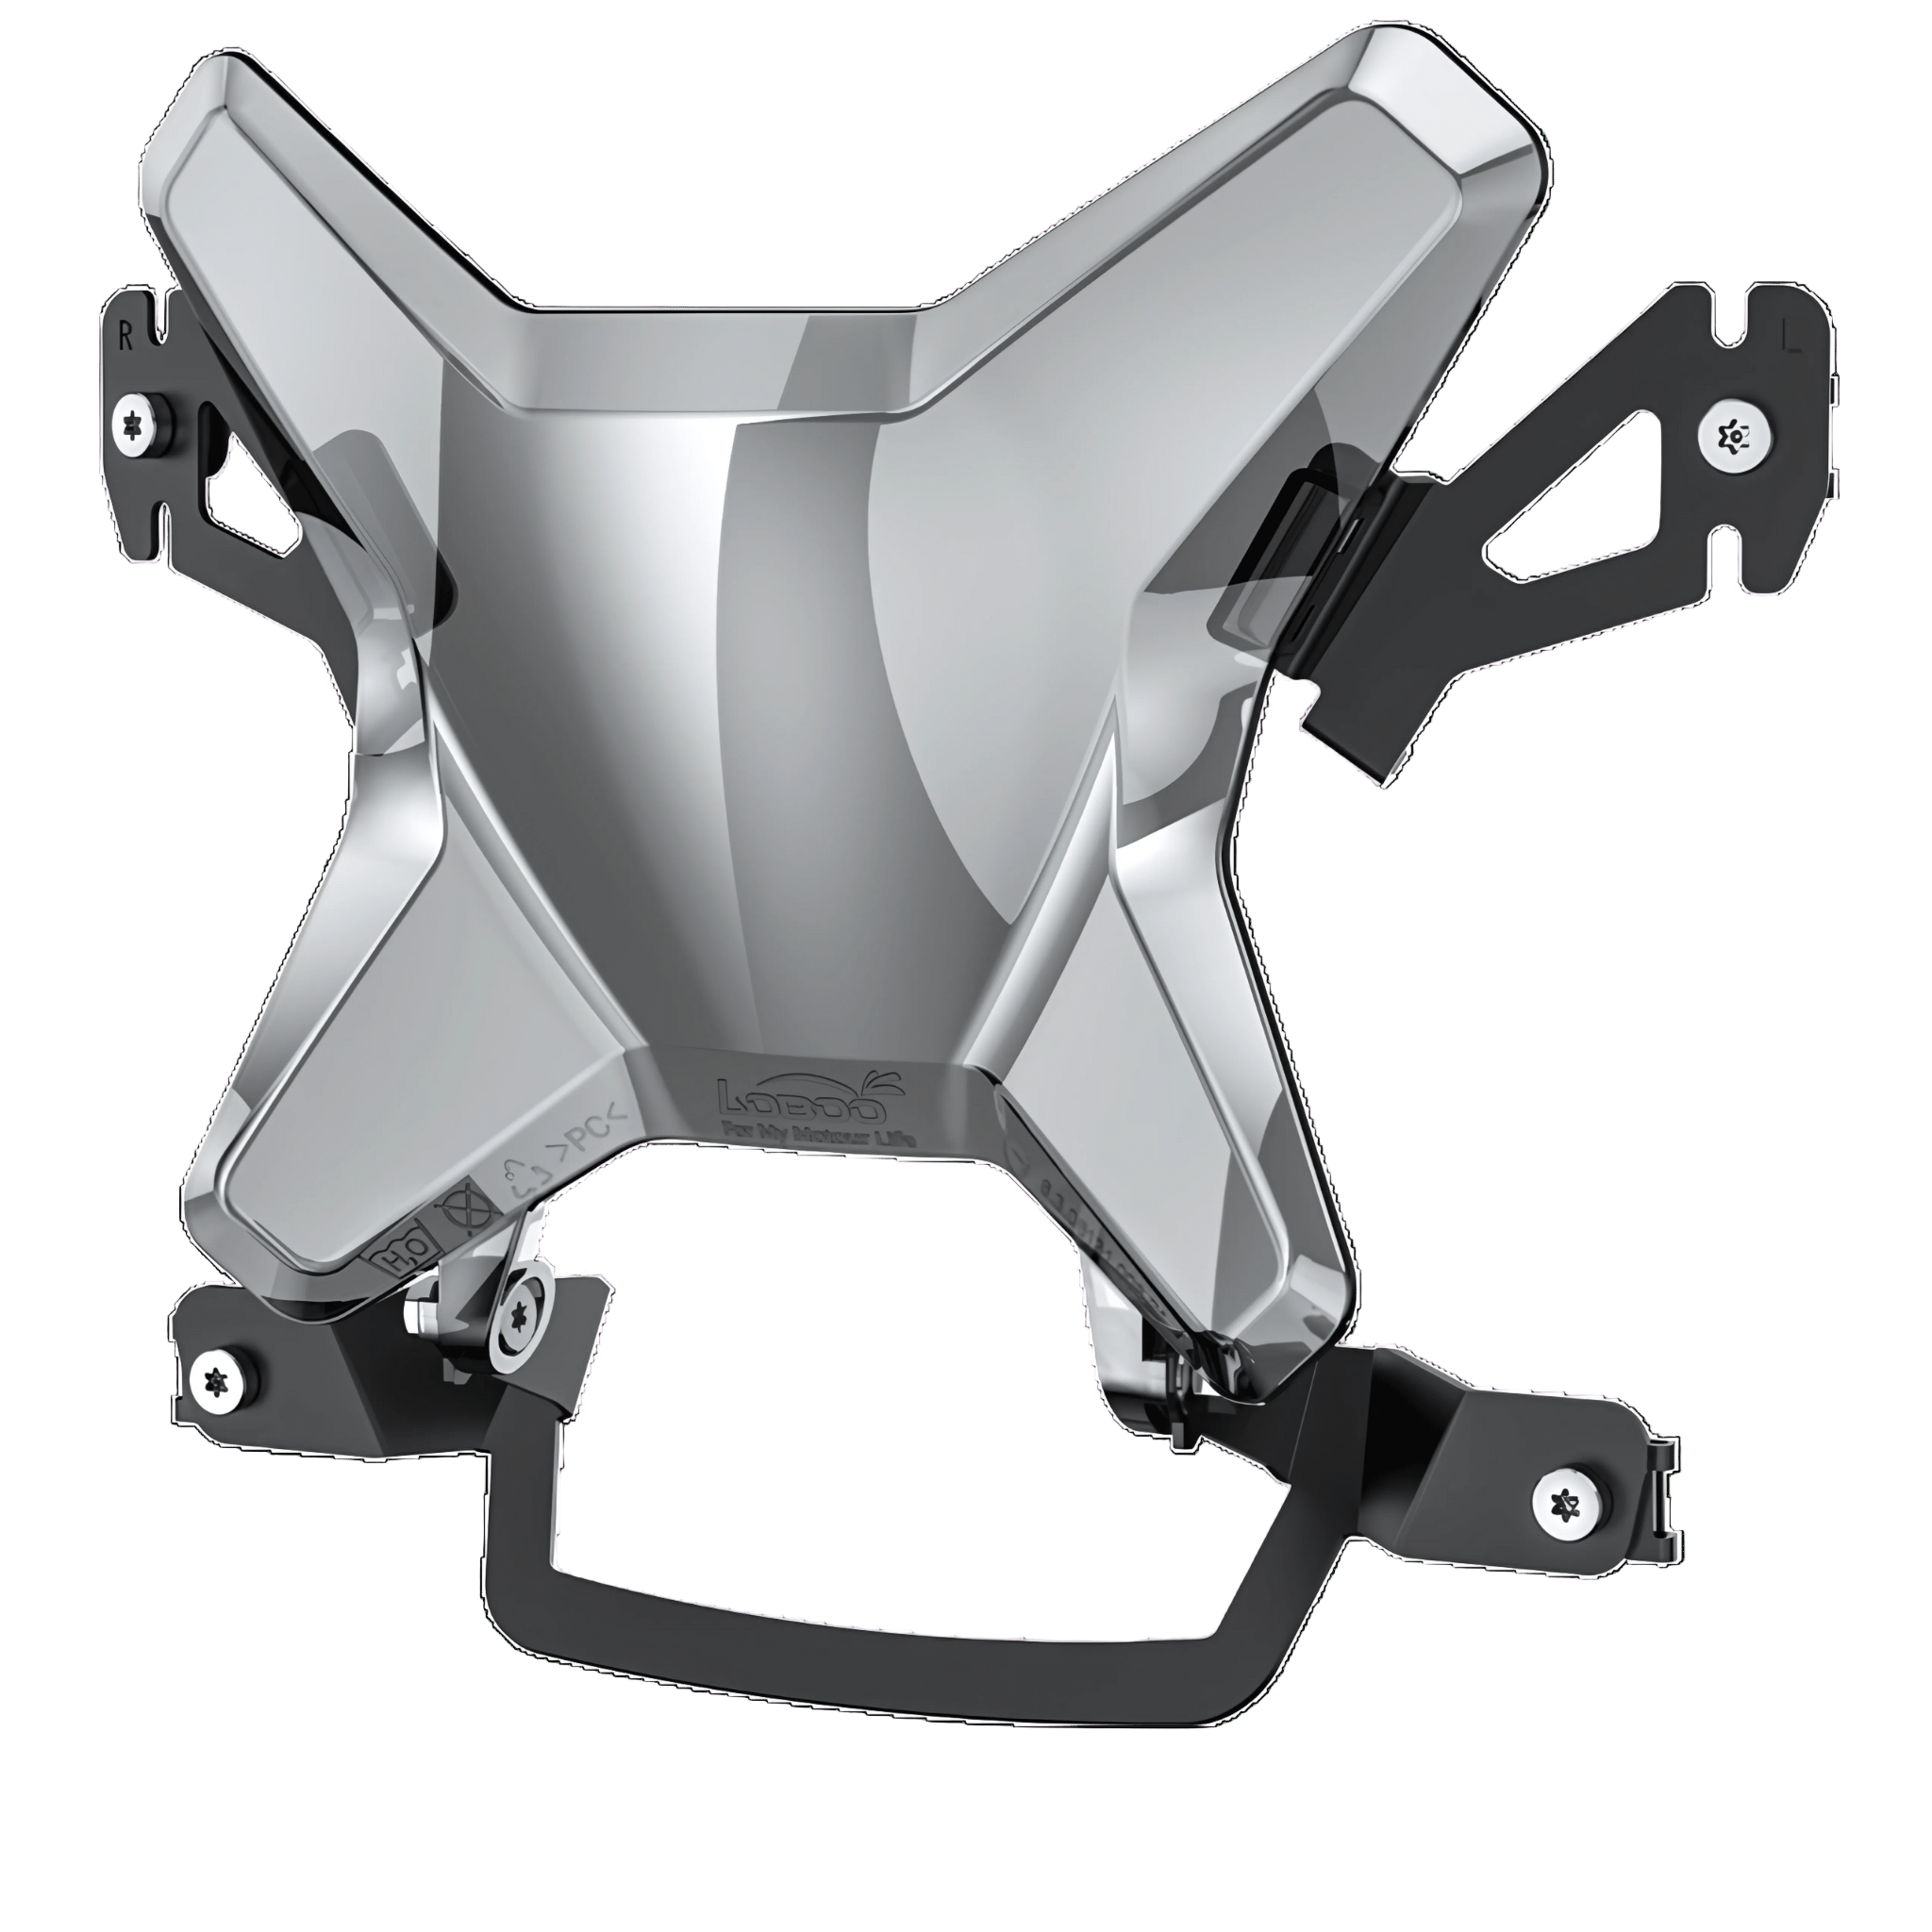
The original BMW pre-installation is the cleanest choice when available. It allows for an organized mounting, often in a central position above the instrumentation, and on some models, it even offers pre-arranged electrical integration. It's a very valid solution for those using navigators compatible with the dedicated attachment.
Aftermarket model-specific brackets are often the best choice when you want to mount a GPS from another brand or want a more robust structure for mixed use. Here, compatibility really matters: a bracket designed for an R 1300 GS is not automatically suitable for an R 1250 GS, and the same applies to F 750 GS, F 850 GS, or Adventure.
Then there are crossbar or handlebar mounts. They work, but need to be evaluated carefully. On the handlebar, the navigator tends to be lower, forcing you to look down. For touring use, this might be fine, but over long distances or light off-road, the high position above the TFT is usually more effective.
Where it's really best to position it
The ideal position is one that allows you to read the map with a quick glance, without diverting attention from the road. Generally, on BMW adventure bikes, the best spot is above the instrumentation or just above the TFT. It's more natural to consult, reduces the time you look away, and remains readable even when standing.
Mounting it too low might seem convenient in the garage, but everything changes while riding. If you have to tilt your head every time you check a turn, fatigue increases and riding loses fluidity.
Power supply: the point that determines if the installation is done well
A navigator that is well-mounted but poorly powered is a problem that will sooner or later arise. Random shutdowns, exposed wiring, a strained battery, or water infiltration almost always stem from a haphazard electrical installation.
On a BMW, you generally have two paths. The first is to use the original electrical pre-installation, if available. This is the tidiest solution, as it utilizes a power supply designed for the motorcycle and reduces the risk of improvised wiring. The second is to connect directly to the battery or to a switched live line via dedicated wiring and a fuse.
Here, the criterion is not to do it quickly, but to do it cleanly. The cable must follow a protected path, without pinch points and without tension when the steering is fully turned. It should be secured carefully, avoiding hot or moving areas, and leaving enough slack near the steering head.
If your navigator requires a voltage converter or a powered base, do not improvise its placement. The component must remain protected from direct water, dirt, and excessive vibrations.
Switched live or direct to battery?
It depends on the use. Switched live power is generally preferable because it avoids power consumption when the motorcycle is off and makes everything more manageable in daily use. A direct connection to the battery can make sense in specific configurations, but it requires more attention and correct power draw management.
Furthermore, on many modern BMWs, the presence of the CAN bus must be considered. This doesn't mean that installation is absolutely complicated, but rather that compatible components and correct wiring must be used, without forcing generic solutions.
Tools and practical assembly
Installing a navigator doesn't require a complete workshop, but it does require order. Torx wrenches, Allen keys, quality zip ties, possibly medium threadlock, and cable routing tools are more important than haste.
First, mount the bracket, then check the full steering lock, then move on to the power supply. Doing it the other way around often leads to having to redo half the work. When securing the navigator plate or cradle, always check that the locking system is accessible even with riding gloves.
Overtightening is another common mistake. Especially on light alloy mounts or brackets with anti-vibration elements, torque matters. If you have the manufacturer's data, follow it. If you don't, work carefully and without forcing.
After static mounting comes the real test: windshield all the way up and all the way down, steering fully right and left, checking TFT visibility, testing the USB port or key, if present nearby. Only when everything is clear can you consider the job done.
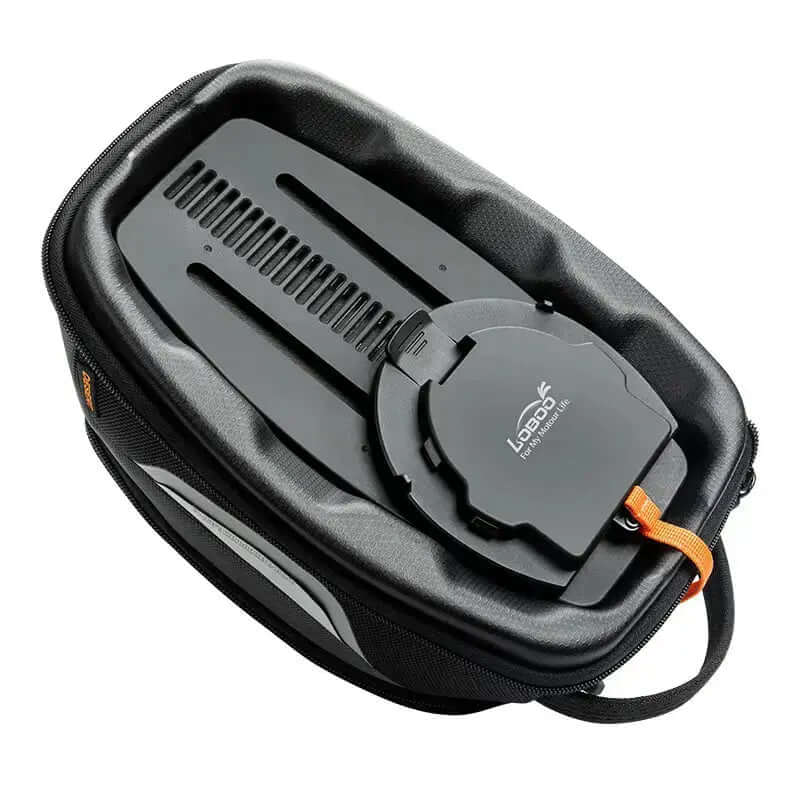
Compatibility between mount and navigator
It's not enough for the navigator to "fit." It must also remain stable, readable, and easy to detach. The main systems use dedicated cradles, 4-hole mounts, AMPS systems, or brand-specific bases. The point is to avoid forced adaptations.
A navigator designed for motorcycle use has specific requirements: waterproofing, vibration resistance, a sun-readable screen, and controls that can be used with gloves. The mount must also be consistent with this level. If the attachment has play even when stationary, it will worsen on the road.
On BMWs most used for long-distance touring, the best combination is often a model-specific bracket and a mount designed for the individual device. It costs more than a universal solution, but it avoids movement, annoying reflections, and durability issues.
Frequent errors when installing a navigator on a BMW
The most common is choosing the mount based on price or immediate availability, without checking actual compatibility with the model and year of the motorcycle. The second is neglecting the standing riding position. The third is routing cables where they seem to disappear best, not where they are truly protected.
Then there's the issue of vibrations. Some BMW twin-cylinders are very manageable, but on rough terrain or dirt, stresses increase. If the mount doesn't have a serious structure or a well-designed system, loosening, micro-displacements, and premature wear will appear over time.
The screen angle is also often underestimated. A well-mounted but poorly angled navigator can reflect light and become uncomfortable precisely when it's most needed. It's worth spending five extra minutes trying it while sitting, standing, and with a helmet on.
When it's worth relying on a specific kit
If you want a truly clean installation, the most sensible choice is almost always a kit designed for your BMW and for the type of navigator you use. This reduces time, limits adaptations, and improves the final result. For those preparing their bike for long trips, it's a tangible advantage, not an aesthetic detail.
A good kit includes a compatible bracket, correct hardware, and geometry designed for the actual motorcycle. It seems obvious, but it makes the difference between a navigator that becomes part of the cockpit and one that remains an added accessory.
For this reason, when evaluating components, it's worth thinking as you do for luggage, protections, or auxiliary lights: precise compatibility, reliable materials, sensible mounting, and durability over time. It's the same technical approach that guides the selection of premium accessories on Endurrad.
Ultimately, installing a navigator well on a BMW is not just about following a route. It's about making the bike more ready, more readable, and more effective when the day gets longer, the weather changes, and the road stops being predictable. And that's exactly when you understand if the installation was done wisely.


Share:
The 10 best-equipped motorcycles for travel in 2026
KTM 890 Adventure setup: what's needed