Installing a GPS incorrectly on a touring motorcycle is not a minor detail. A few too many vibrations, a poorly chosen mount, or an incorrect position are enough to leave you with a screen that is difficult to read precisely when you need it most - on an unpaved track, in the rain, or in traffic. If you are wondering how to install a motorcycle GPS mount correctly, the point is not just to attach it to the handlebars: it is to make it stable, readable, and compatible with how you actually use it.
How to install a motorcycle GPS mount: choose the right location first
The first decision matters more than the installation itself. The GPS can be installed on the handlebars, on the handlebar crossbar if present, above the instrument cluster with a dedicated bar, or on brackets specifically designed for the windscreen. There is no perfect position for everyone. There is only the right one for your motorcycle and the way you ride.
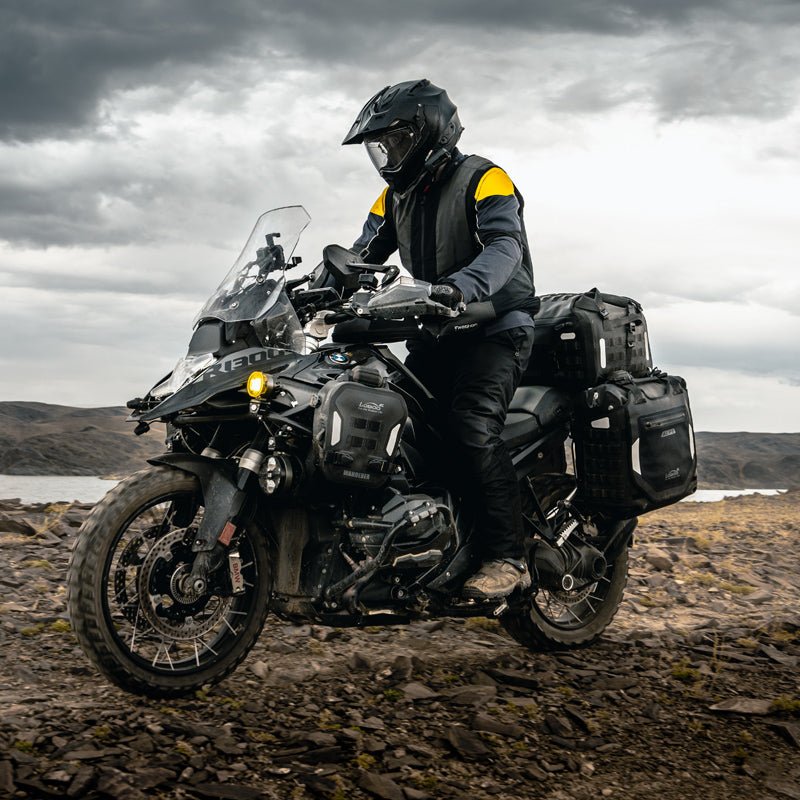
On an adventure bike such as a BMW GS, Africa Twin, or Ténéré, the position above the dashboard is often the most effective. It keeps your gaze higher, reduces the time you take your eyes off the road, and better protects the device from accidental impacts with the fuel tank or tank bag. On the handlebars, installation is simpler and more direct, but it may be less ergonomic, especially when riding standing on the foot pegs.
If you also ride on light or moderate off-road terrain, avoid positions that are too low. When riding standing up, a GPS mounted low forces you to lower your head more than necessary. On asphalt, it may seem like an acceptable compromise. On gravel, much less so.
Handlebars or bar above the instrument cluster?
The handlebars remain a valid choice when you want immediate access and your motorcycle does not have a suitable front structure for a dedicated bar. However, it is important to check two things: the available space and the clearance when turning the handlebars fully. Handguards, an adjustable windscreen, a USB socket, a smartphone, and aftermarket controls can create genuine interference.
The bar above the instrument cluster, on the other hand, is the preferred solution for many travelers. It puts the navigator in your field of vision, improves readability, and leaves more space on the handlebars for other accessories. However, it requires a well-designed kit specific to the motorcycle model. Here, compatibility is not a commercial detail: it is what determines stability and freedom from vibrations.
The right mount is not truly universal
Many mounts are presented as universal, but on an adventure motorcycle the concept of universality has clear limits. Handlebar diameter, the presence of risers, cockpit shape, windscreen height, and twin-cylinder vibrations all affect the final result.
A dedicated motorcycle navigator, a rugged smartphone, and a digital roadbook do not weigh the same and do not require the same type of attachment. The heavier the device, the more rigid the system must be. If the mount has too many joints or long arms, the initial convenience comes at the cost of oscillation and reduced visual precision.
For purely touring use, you can tolerate a little more modularity. For mixed trips and rough surfaces, a compact mount with a solid attachment and reliable hardware is preferable. Model-specific brackets, especially on motorcycles such as the KTM Adventure or GS, generally deliver better results than generic adapters.
Tools and preparation
Before starting, place the motorcycle on a stable, well-lit surface. A center stand or rear stand can help, but the side stand is also fine if you work carefully. You will normally need Allen keys, possibly Torx keys depending on the motorcycle, a torque wrench if you want to do a precise job, medium-strength threadlocker, and cloths to protect the plastics.
Never tighten everything immediately. Correct installation involves an initial positioning, an interference check, and only then final tightening. This is what makes the difference between a clean installation and a job you have to redo after the first ride.
Always check these three points
Before final tightening, turn the handlebars fully to the right and left. Check that the mount does not touch the windscreen, press against cables or brake lines, or restrict the controls. Then sit on the motorcycle and check screen readability both seated and standing. Finally, consider the presence of tank bags or front accessories, because the problem often only appears when the motorcycle is loaded.
How to install a motorcycle GPS mount step by step
The first step is to attach the mount base at the chosen location. If you are working on the handlebars, clean the contact area thoroughly and install the supplied spacers if required by the diameter. The base must rest evenly, without being forced. If it remains tilted or does not work properly even when stationary, vibrations will make the problem worse.
At this point, install the arm or intermediate adapter, if provided. Keep it as short as possible. The farther the device is from the attachment point, the greater the leverage effect. It is a simple rule that is often ignored. On asphalt, it is barely noticeable; on rough roads, much more so.
Then install the GPS plate or cradle, ensuring it is facing the correct way. It may seem obvious, but it is common to orient it for mounting convenience rather than for the best viewing angle. Before tightening it fully, sit on the motorcycle with your helmet on. The position you perceive when the motorcycle is stationary in the garage is not always the one you experience while riding.
Final tightening must be done carefully. Too much force can deform collars, brackets, or inserts. Too little leaves room for unwanted rotation. If the manufacturer specifies a tightening torque, follow it. Where appropriate, use medium-strength threadlocker on screws exposed to vibration. There is no need to overdo it: the aim is to prevent the mount from loosening over time.
Power and wiring: clean installation makes the difference
A motorcycle GPS is useful when it is always ready. That is why many riders choose direct or switched power rather than relying solely on the internal battery. The wiring, however, must be done properly. Loose wires in front of the dashboard or improvised routing near the steering are a bad idea.
Route the cable along paths already present on the motorcycle, following the original wiring wherever possible. Leave enough slack for the handlebars to rotate fully, but avoid excessive loops that could snag. Cable ties help, provided they are not tightened too much or crushing the cable against sharp edges.
If you connect the navigator to a switched power outlet, you get a neater installation and reduce the risk of leaving the device powered while the motorcycle is stationary. Many modern touring motorcycles have dedicated connection points or much cleaner integrated solutions than improvised connections directly to the battery terminals.
The most common mistakes to avoid
The number-one mistake is choosing the position based on appearance rather than ergonomics. A mount may look well integrated, but if you have to lower your gaze too much to read it, you have already lost its main advantage.
The second mistake is underestimating vibrations. A loaded touring motorcycle, with knobby tires or firmer suspension, transfers significant forces. A mediocre attachment may hold up in the city and disappoint on the first long transfer or rough section.
The third is ignoring real compatibility. Adventure motorcycles are not all the same. What works well on a GS may not be ideal on a KTM with a different cockpit or on a Ténéré with more limited space. In this area, model-specific solutions often make the difference.
After installation, carry out a real test
The final check should not be done in the garage. Do it on the road. Start with a short ride on asphalt, then try some rougher sections if your use includes gravel or uneven surfaces. Check whether the screen remains stable, whether the viewing angle is correct in natural light, and whether the mount maintains its position despite vibrations and potholes.
If you notice small movements, do not wait for a long trip before addressing them. Sometimes all it takes is shortening an arm, changing the angle, or correcting the tightening. Other times, the problem is the choice of attachment point. It is better to discover it immediately than 300 kilometers from home.
For those who prepare their motorcycle seriously, especially on adventure-focused platforms such as Endurrad, the right approach is always the same: compatibility first, stability immediately afterward, and practicality every day. The GPS mount should not merely stay in place. It should help you ride better.
When you install a navigator on your motorcycle, think less about the workbench and more about the next stage: gloves on, helmet fastened, rain approaching, and a trail you do not want to miss. That is when you find out whether the mount is truly installed properly.