• Garagela tua moto e solo gli accessori compatibili
  • −5%Benvenuto nel Garage5% for anyone who saves the motorcycle in the app, until 06/30/2027
  • Cerca con una fotol'app riconosce la tua moto
  • Diario mototagliando, revisione, bollo
  • Avvisaminotifica quando un prodotto torna disponibile
  • −5%Primo ordinefatto dall'app
  • Vedi in 3De sulla tua moto, in realtà aumentata
Scarica su App Store Disponibile su Google Play Download

Free shipping on orders over €100 · 14-day returns
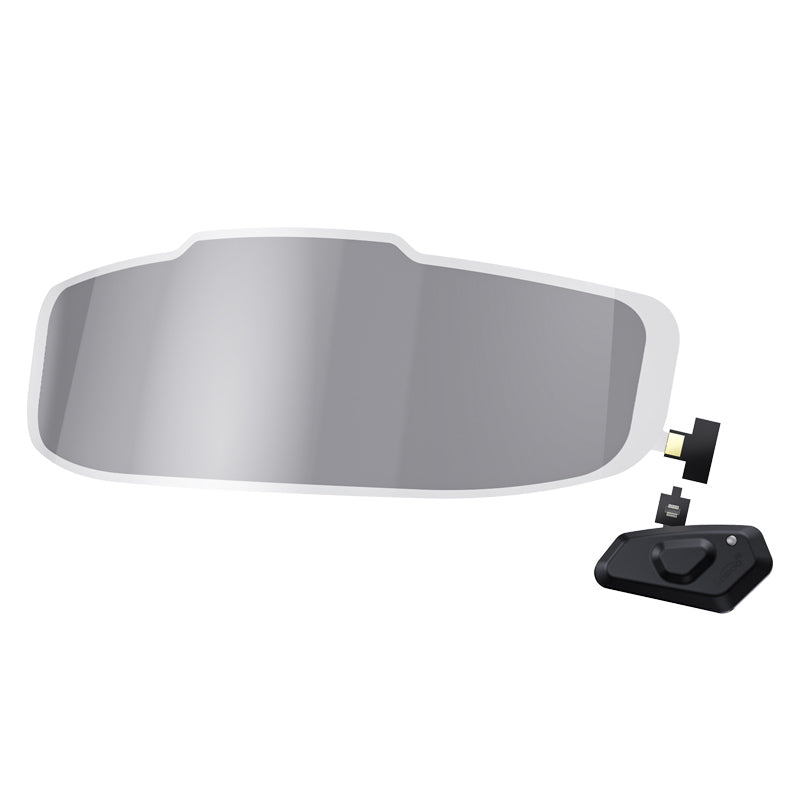
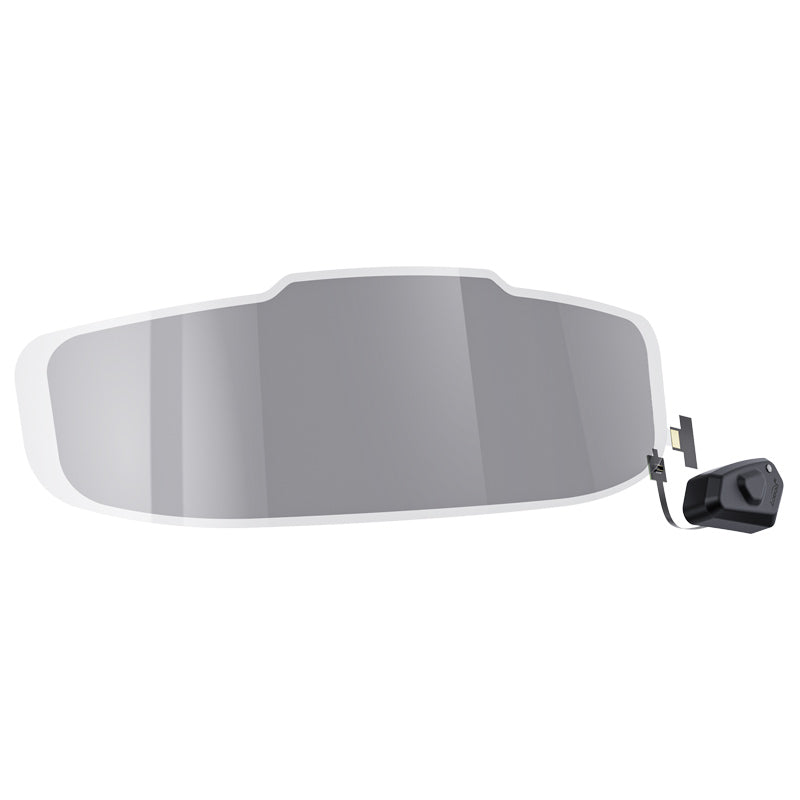
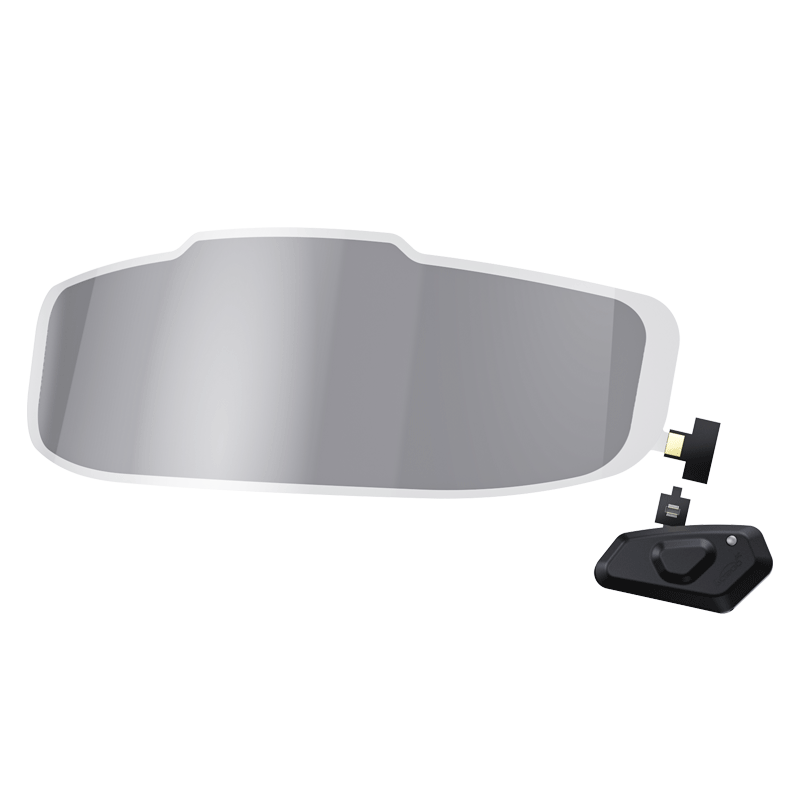
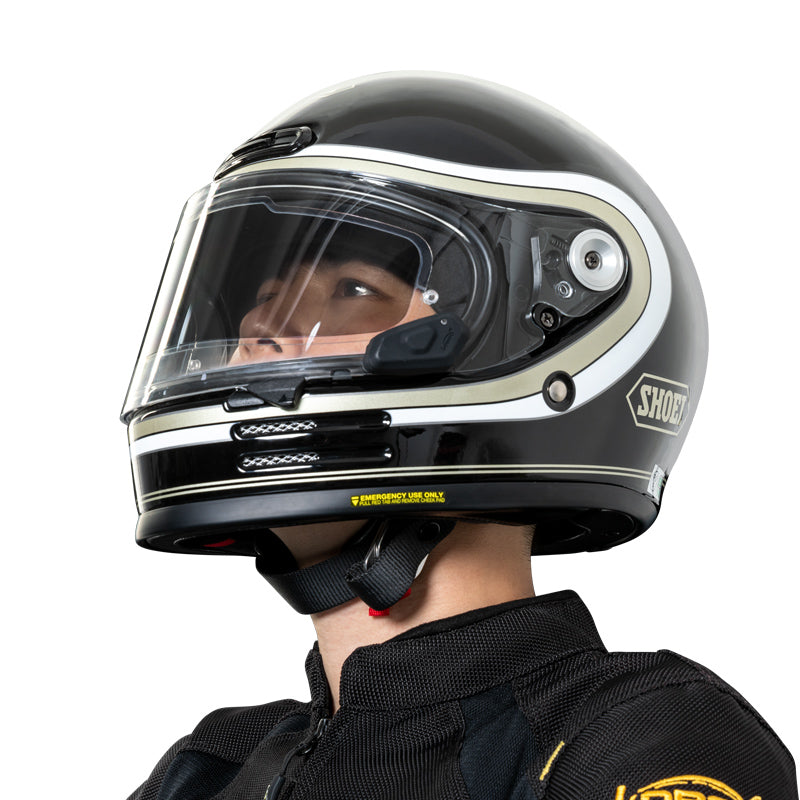
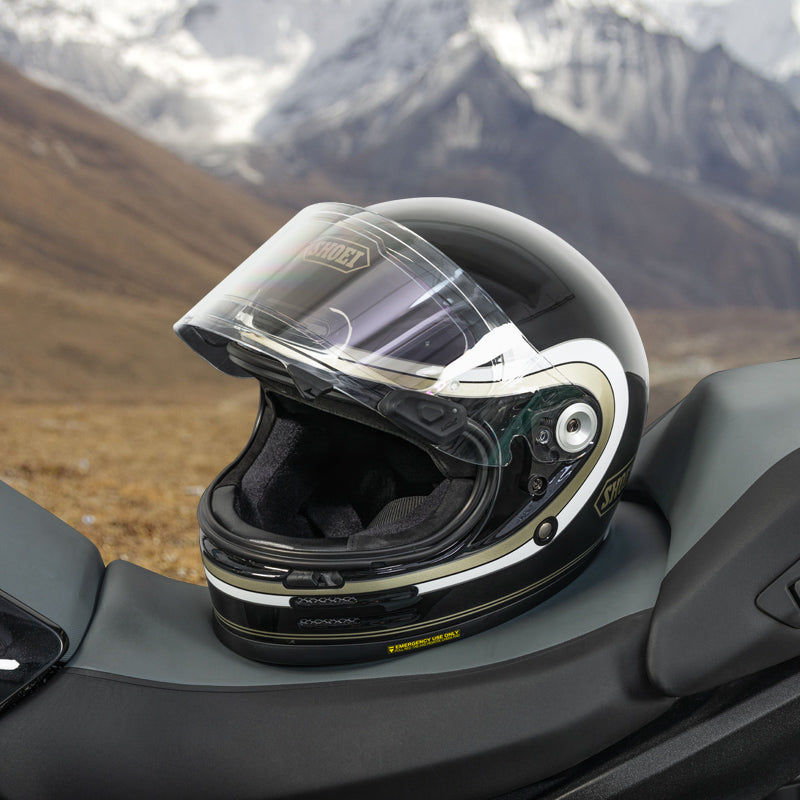
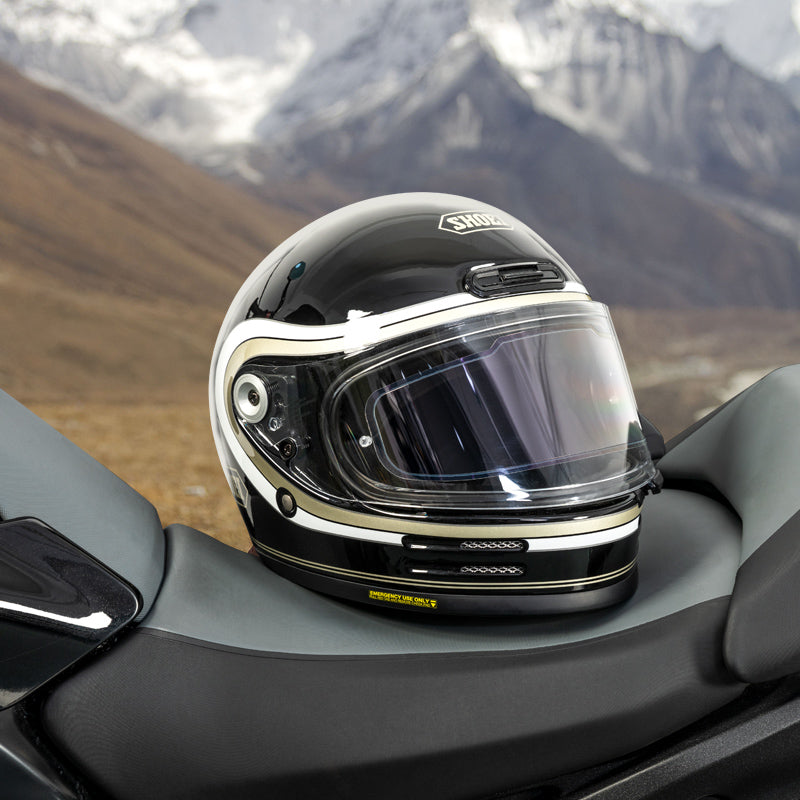
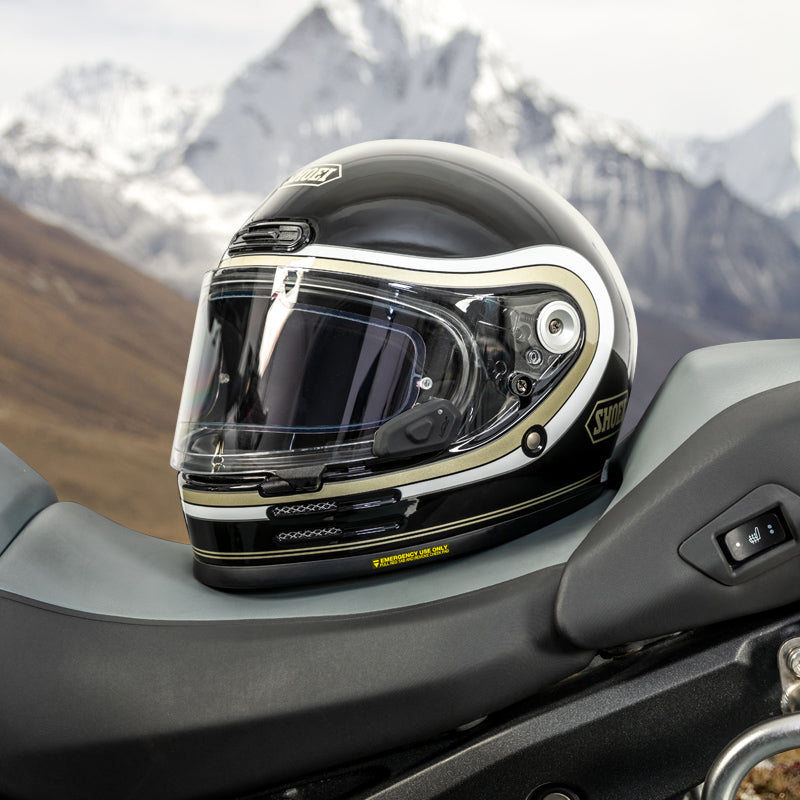
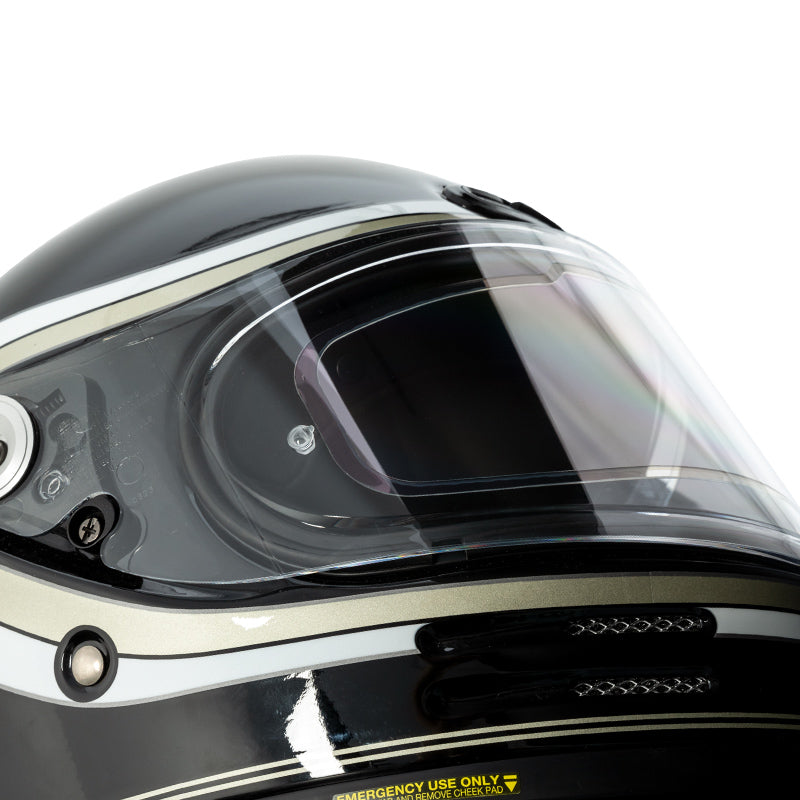
Pellicola fotocromatica per casco con il controller a pulsante unicoPellicola fotocromatica in tinta chiara vista di fronteKit con pellicola fotocromatica e controller da applicare alla visieraVista completa della pellicola fotocromatica da 266,9 x 86 mmCasco integrale indossato con la pellicola fotocromatica installata, vista frontaleCasco indossato di tre quarti con visiera scurita dalla pellicolaCasco tenuto in mano, profilo con la pellicola fotocromatica sulla visieraCasco con pellicola fotocromatica appoggiato sulla sella della motoCasco con pellicola fotocromatica in ambiente di montagnaProfilo destro del casco con la visiera trattataProfilo sinistro del casco con la visiera trattataDettaglio del controller incollato all'esterno della visiera del casco
-10%Pre-ordine
0,01 s Transition
120 mAh Battery
266,9 mm Film width
USB-C Top up

Panoramica

In breve

Pellicola fotocromatica elettronica da applicare sull'interno della visiera del casco: cambia tinta in 0,01 secondi, in automatico sulla luce ambiente o a comando con il controller. Misura 266,9 × 86 mm, ha batteria da 120 mAh con ricarica USB-C e arriva in kit da sette pezzi con dima, salviette e panno.

Technology: Electronic photochromatic LCD

Response time: 0.01 seconds

Dal produttore LOBOO

Original LOBOO product. Official name: HL08 Smart Electrochromatic Helmet Visor - Automatic tinting in 0.01s, anti-fog and anti-scratch, dual-mode light sensor protection for most helmets. Manufacturer code: HL08. Official documentation and catalog available in the download section.

Leggi la descrizione completa

The problem isn’t the sun: it’s the transition. You exit a tunnel and can’t see anything for a few seconds; you enter a row of trees and the dark visor becomes an obstacle. This electronic photochromic film changes tint in 0.01 seconds, so it makes the transition while you’re still looking at the road.

It doesn’t replace the visor: it attaches to the inside of the one you already have, measures 266.9 × 86 mm, and is controlled with a small controller attached to the outside. In automatic mode, it detects ambient light and adjusts on its own; in manual mode, you decide with a press of the button. When stationary, it goes into standby after five minutes and wakes up at the first vibration.

It has a multilayer composite structure with a hydrophobic coating, designed to prevent it from becoming the surface that fogs up inside the helmet. It recharges via USB-C, and the battery is 120 mAh.

Two things to know first: the dark tint may reduce visibility at night and in the rain, so in those conditions, keep it in clear manual mode; and the film can only be installed once, because the manufacturer excludes damage from a second installation from the warranty.

Nella confezione

  • PRODOTTO LOBOO ORIGINALE nuovo, nella confezione prevista dal produttore: pellicola fotocromatica, controller, cavo USB-C, dima di posizionamento, salviettina umida, panno di pulizia e quattro adesivi raccogli-polvere
  • ACCESSORI DI MONTAGGIO INCLUSI QUANDO PREVISTI nella dotazione originale, con supporti, telai o adattatori venduti separatamente indicati nella descrizione
  • MANUALE DI MONTAGGIO incluso nella confezione, con video di installazione via QR code
  • COMPATIBILITÀ VERIFICABILE PRIMA DELL'ACQUISTO, comunicando marca e modello del casco

Non incluso: il casco e la sua visiera, che restano i tuoi. La pellicola si applica sulla visiera che hai già.

HL08 · electrochromic visor · automatic darkening · for helmet

How does it work, in detail?

How it changes color, how it recharges, and which helmets it fits.

A visor that adapts to the light, not the other way around
01

A visor that adapts to the light, not the other way around

The film is applied to the inside of your existing visor and automatically adjusts its tint based on the light. No second visor to carry around, no stops to change it.

Transition stated in 0.01 seconds
02

Transition stated in 0.01 seconds

It’s the detail that changes everything when exiting a tunnel: where a traditional photochromic lens takes seconds, the transition here happens while you’re still looking at the road.

Strong sun and low light, two different shades
03

Strong sun and low light, two different shades

In bright sunlight, the lens darkens and cuts the glare from the asphalt; in tunnels or shade, it turns clear again and lets through the light needed to read the road.

Automatic or manual, one button to choose
04

Automatic or manual, one button to choose

Automatically, the lens reads the ambient light and adjusts itself. If you're passing under a row of trees and don't want it to keep darkening and brightening, press and hold for one second to switch to manual mode: from there, you decide with a short press.

Multilayer with a hydrophobic coating
05

Multilayer with a hydrophobic coating

An extra layer inside the helmet can end up being the surface that fogs up first. Here, the structure is a multilayer composite with a high-efficiency hydrophobic treatment.

The comparison with a regular visor
06

The comparison with a regular visor

Same road, same light: the standard visor on the left, and the same scene with the HL08 film on the right. The difference is visible in the contrast and glare, not in the sharpness.

It just sticks on, with no modifications to the helmet
07

It just sticks on, with no modifications to the helmet

Seven steps, no tools and no drilling: positioning template, visor cleaning, film on the inside, controller on the outside. It should be done carefully the first time, because the manufacturer prohibits reinstallation.

Compatible with most helmets
08

Compatible with most helmets

You don’t need a helmet from a specific brand: you need a visor with a sufficiently large, unobstructed central area, because the film measures 266.9 × 86 mm. If in doubt, measure before ordering.

The figures stated by the manufacturer
09

The figures stated by the manufacturer

Film 266.9 × 86 mm, controller 53.4 × 27.6 × 17.2 mm, 120 mAh and 0.444 Wh lithium battery, USB-C charging at 5 V–0.2 A. It operates from -20 to +50 °C and can be stored from -30 to +60 °C.

How it looks with the helmet mounted
10

How it looks with the helmet mounted

The controller stays on the outer side of the visor, within reach of a gloved hand, and the film covers the central field of view. That is the visible footprint: no internal structure, no screws.

Dati dal manuale d'uso LOBOO

Specifiche tecniche

Tutti i dati

Identification

Product code
HL08
Official name
Smart Photochromic Helmet Visor

Measurements

Photochromic film
266,9 × 86 mm
Controller
53,4 × 27,6 × 17,2 mm

Optics

Technology
Electronic photochromic film
Transition time
0,01 s
Mode
Automatic with light sensor and manual
Treatment
Multilayer composite with hydrophobic anti-fog coating

Power supply

Battery
Lithium-ion 120 mAh / 0.444 Wh
Top up
USB-C 5V-0.2A Port protected by a silicone cap

Energy management

Suspension
After 5 minutes when stationary It wakes up on vibration and resumes its previous state
Automatic shutdown
After 2 hours of inactivity

Temperature

Exercise
-20 / +50 °C
Storage
-30 / +60 °C

Assembly

Application
Adhesive sticker on the inside of the original visor Seven steps, no tools
Command
External adhesive controller with a single button

Equipment

Package contents
7 items Screen protector, controller, USB-C cable, alignment frame, wipes, cloth, 4 dust-removal stickers

Warranty

Manufacturer’s warranty
12 months After 12 months, LOBOO offers paid repair of the material only

Data from official LOBOO documentation. Code: HL08.

Prima di ordinare

Montaggio e requisiti

Come si monta

Istruzioni complete e note di sicurezza

Il manuale descrive sette passaggi, senza attrezzi. Si appoggia la dima all'esterno della visiera per centrarla nella linea di sguardo e la si fissa con le etichette guida. Si smonta la visiera, si pulisce l'interno con la salviettina e si asciuga con il panno, perché una sola traccia di polvere resta lì sotto per sempre.

Poi si stacca la pellicola di supporto, si allinea alla dima e si preme tutto attorno al bordo sigillante; si incolla la presa, si toglie la dima e la pellicola protettiva interna, si collega il connettore del controller e lo si fissa all'esterno della visiera. Il cavo piatto in eccesso si ripiega fra le due zone adesive del controller.

Prenditi il tempo che serve al primo tentativo: il produttore vieta il secondo montaggio, e i danni causati così fanno decadere la garanzia.

Avvertenze d'uso e sicurezza dichiarate dal produttore

  • La tinta scura può compromettere la visibilità di notte o sotto la pioggia: valuta questo punto prima di installarla.
  • Non piegare eccessivamente la pellicola: i danni causati così fanno decadere la garanzia.
  • Non rimontare la pellicola dopo la prima installazione, per lo stesso motivo.
  • Non tirare con forza connettori e cavo piatto.
  • Tenere chiuso il tappo in silicone della presa di ricarica quando non si carica.
  • Pulire con panno inumidito con acqua pulita, se serve con detergente neutro: vietati liquidi acidi o alcalini.
  • Non conservare il prodotto in ambienti molto caldi o molto freddi e tenerlo lontano dal fuoco.
  • Nota legale: è un componente di modifica applicato alla visiera. Verifica che l'uso sia consentito dalle norme in vigore nel paese in cui guidi.

È la scelta giusta se:

  • Guidi di giorno su strade con gallerie, ombre e sole alternati
  • Non vuoi portarti dietro due visiere né fermarti a cambiarle
  • Ti dà fastidio la lentezza delle visiere fotocromatiche tradizionali

È da valutare con attenzione se:

  • Guidi soprattutto di notte o con pioggia frequente
  • Cambi casco spesso: la pellicola si monta una volta sola e non si trasferisce
  • La tua visiera ha poca superficie piana nella zona di sguardo

Compatibilità

Come verificare la compatibilità

Non c'è nulla da verificare sulla moto: conta il casco. Il produttore dichiara la compatibilità con la maggior parte dei caschi in commercio, perché la pellicola non sostituisce la visiera ma si applica sul suo lato interno.

L'unico vincolo reale è lo spazio: serve un'area centrale pulita di almeno 266,9 × 86 mm nella zona di sguardo. Se hai un casco con visiera piccola o molto curva, misura prima e scrivici: la valutiamo insieme, visto che il montaggio si fa una volta sola.

Hai un dubbio sulla compatibilità?Mandaci una foto su WhatsApp: ti rispondiamo noi. Scrivici →

Domande frequenti

Le domande che ci fate più spesso

Will it fit my helmet?

It does not replace the visor: it is a 266.9 × 86 mm film that is applied to the inside of the one you already have. The manufacturer says it fits most helmets on the market, so all that matters is that your visor has a large enough, flat, clean central area. If in doubt, measure the usable area and write to us before ordering.

How do you change from light to dark?

There are two modes. In automatic mode, the film reads the ambient light and darkens or lightens on its own. In manual mode, you decide with a short press of the controller button. Switch between them by holding it down for one second.

How long does it take to darken?

The manufacturer claims a transition time of 0.01 seconds. That is why it makes sense when exiting a tunnel, where a traditional photochromic visor takes several seconds.

Can it be used at night or in the rain?

The manufacturer expressly warns that the dark film may impair visibility at night or in the rain. In those conditions, switch to manual mode and keep the tint light. If you mainly drive at night, consider this carefully before installing it: once applied, it cannot be refitted.

Can it be removed and put back?

No. The manufacturer prohibits a second installation, and any damage caused by doing so voids the warranty. It is worth taking the time to position the template correctly the first time: this is the step that determines the result.

How do you install it?

In seven steps without tools: position the template on the outside of the visor to center it in your line of sight, remove the visor and clean it with the provided wipe and cloth, apply the film to the inside, aligning it with the template, attach the grip, remove the template and protective film, connect the controller, and secure it on the outside.

Avvisami quando disponibile

Ti scriviamo appena Photochromic visor for motorcycle helmet with automatic darkening in 0.01 s torna disponibile.