



Approved LED Quick-Release Motorcycle Turn Signals, 2-Piece Kit – Front
- Spedizione gratuitaoltre 100 € in Italia, oltre 250 € in Europa
- Garanzia 24 mesigaranzia legale di conformità
- Pagamento a ratedisponibile al checkout
- Reso entro 14 giornidalla ricezione dell'ordine
Hai dubbi sulla compatibilità? Contattaci prima dell'acquisto →
I recommend them to you!
Original CLICKnRIDE product
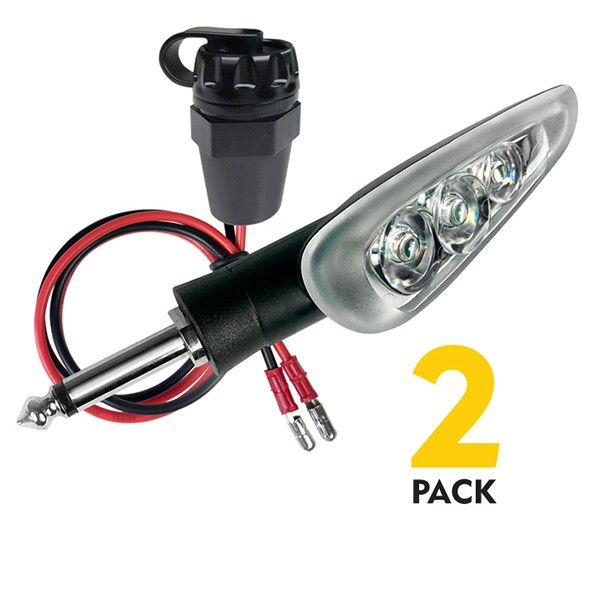
Approved LED Quick-Release Motorcycle Turn Signals, 2-Piece Kit – Front
If you have any questions, please don't hesitate to contact us. We'll respond as soon as possible, within 24 hours on business days.
-
Endurrad accessory delivery
For accessories purchased from Endurrad.com, delivery times vary depending on product availability.
Estimated delivery times:
Products in stock: generally shipped within 24–48 business hours.
Products available from the supplier: estimated delivery within 5–10 business days.
Made-to-order or temporarily unavailable products: delivery times may vary and are indicated on the product page or communicated by our customer service team.
As soon as your order is handed over to the carrier, you will receive the information needed to track the shipment.
The accessories are carefully checked and packaged before shipping. When provided by the manufacturer, the package includes manuals, assembly instructions, documentation, and the accessories required for installation.
For products with special availability or procurement times, we recommend contacting Endurrad before purchasing to learn the latest estimated delivery time.
-
Customer support
Available Monday to Friday.
- 08:30 - 13:30
- 14:30 - 17:30
- Saturday and Sunday - Closed
-
Contacts
Guida alla scelta
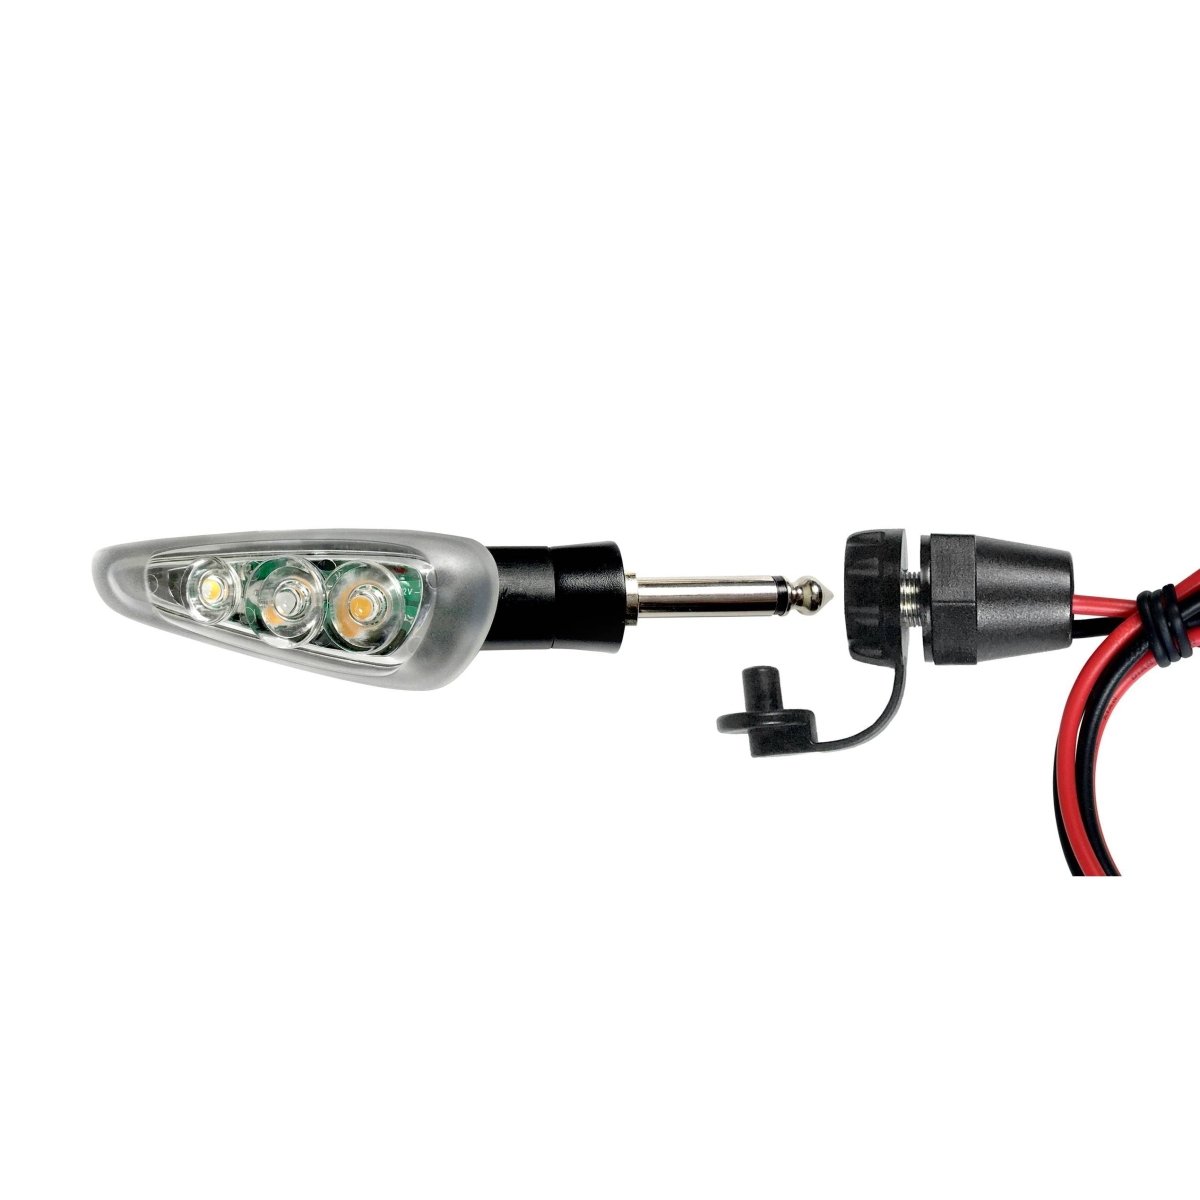
Come funziona il sistema a sgancio rapido
Due parti: la presa resta fissata alla moto, la freccia si innesta con un clic e si toglie tirandola. Prima del fuoristrada le sganci e le metti nello zaino, per tornare su strada le rimetti.
Frecce
Kit da 2 o da 4
Il kit da 2 copre anteriore o posteriore, quello da 4 tutta la moto. Ogni freccia ha la sua presa, con cuffia e tappo contro acqua e fango.
Serve a chi monta il sistema per la prima volta
Attacco M10 · foro da 10 mm · omologate E-mark
Prese e frecce singole
Per completare il sistema
Una presa in più per predisporre una seconda moto, una freccia singola per sostituire quella persa. Le frecce sono asimmetriche: scegli il lato giusto.
Serve a chi ha già il sistema montato
Posteriore sx / anteriore dx · posteriore dx / anteriore sx
Resistenze
Contro il lampeggio veloce
Necessarie solo se la moto usciva di fabbrica con frecce a lampadina: senza, le frecce LED lampeggiano troppo veloci o non lampeggiano.
Serve a chi passa da lampadina a LED
Una resistenza per ogni freccia LED
Frecce a sgancio rapido Prima
Everything you need to know before ordering
Compatibility, package contents, installation, and technical data: below you'll find every detail taken from the official CLICKnRIDE specifications.
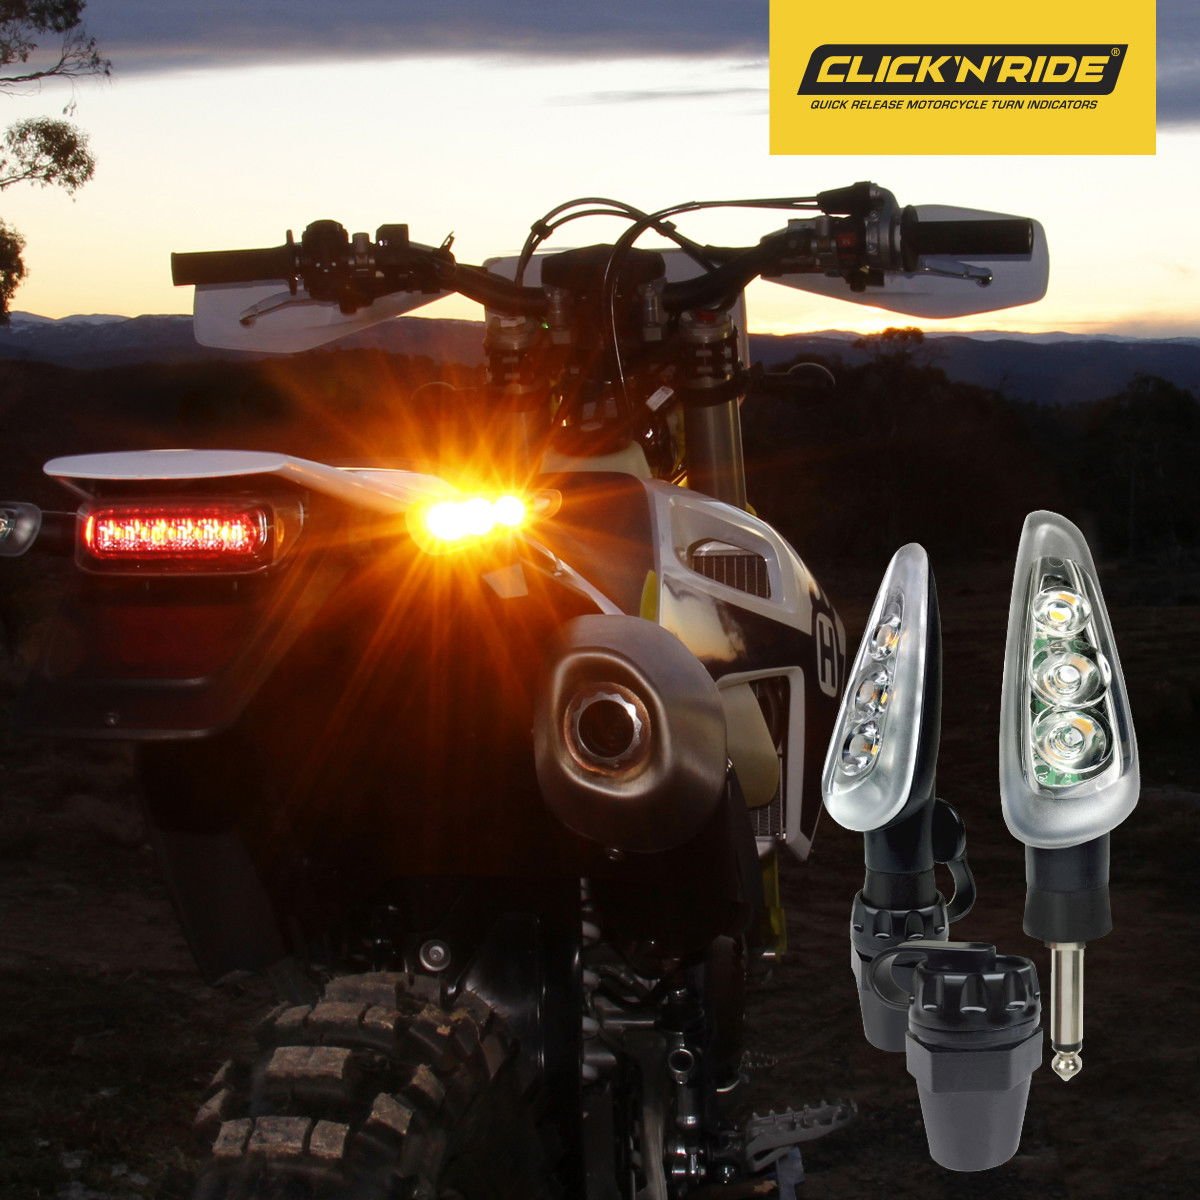
Quick-release LED indicators for enduro, off-road, or track riding: before a technical section, remove them with one click in just a few seconds and without tools, then reinstall them to return to the road legally. Branches, falls, and transport on a trailer will no longer break them.
Will they fit my motorcycle?
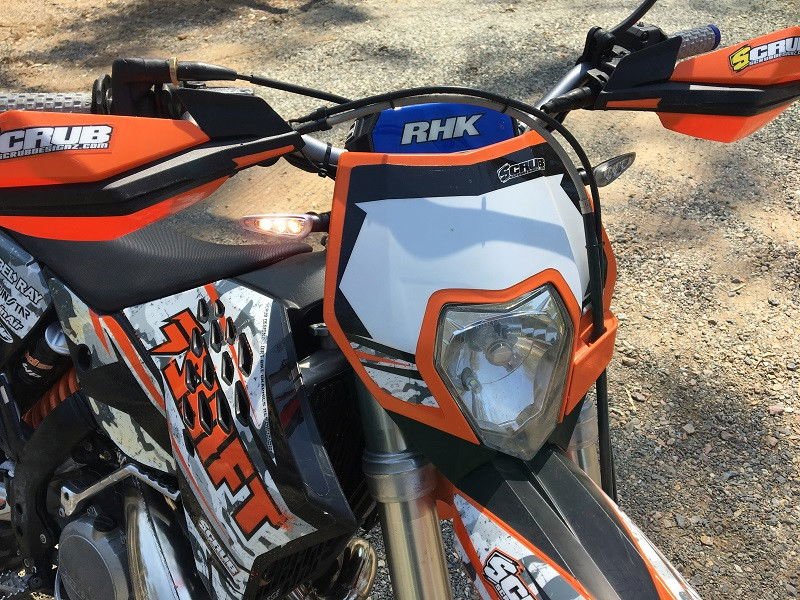
The mounting system is universal. The connector fits into a 10 mm hole in a fairing, license plate holder, or bracket, with enough plastic or metal around it for the fastening nut (23 mm in diameter). They therefore fit almost all enduro, dual-sport, and adventure motorcycles: KTM, Husqvarna, GasGas, Yamaha, Honda, Kawasaki, Suzuki, SWM, and others.
If your motorcycle was originally equipped with bulb indicators, you also need LED indicator resistors, sold separately: without them, the indicators flash too quickly or do not flash at all.
What you receive
- 1 quick-release left indicator and 1 quick-release right indicator
- 2 connectors to attach to the motorcycle, with wiring and a rubber boot to protect against water and mud
- 1 mm and 2 mm nylon spacers to adjust the thickness
Features
- Line: Prima
- Color: black
- Light: high-intensity SMD LED, 3D optical lens with glossy and satin surfaces
- Body: injection-molded plastic
- Mounting: universal M10 with anti-rotation nut, 10 mm hole
- Approval: E-mark, UNECE Regulation 50, no. 50R-0313
- Manufacturer's warranty: 2 years
How to install them
- Disconnect the battery and remove the original indicators.
- Insert the connector into the hole with the washer and spacers: the bottom of the nut notch must remain flush with the thread. If too little of the thread protrudes, thin the plastic from the inside.
- Position the notch horizontally, engage the indicator to align everything, and tighten by hand from behind, using a drop of medium-strength threadlocker.
- Connect the red wire to positive and the black wire to ground. If the indicator does not light up, swap the two wires: LEDs are polarity-sensitive.
We recommend having them installed by a workshop.
Use and maintenance
Clean the indicator before connecting it. When you remove it and when you wash the motorcycle, close the connector with the dust cap.
Why choose it
Who is it recommended for
Complete technical specification sheet
Assembly and documents
Manufacturer
Domande frequenti
Frecce a sgancio rapido Prima: le risposte prima di ordinare
Are quick-release arrows road-legal?
Which motorcycles can they be installed on?
Do you need the coils?
After installation, the turn signals don't light up: what should I check?
All four turn signals are flashing together: why?
Can I wash the motorcycle with the outlets installed?
Non trovi la risposta? Scrivici o consulta le FAQ sugli accessori.
Buying guides, technical comparisons, and news about accessories for adventure motorcycles
Before choosing
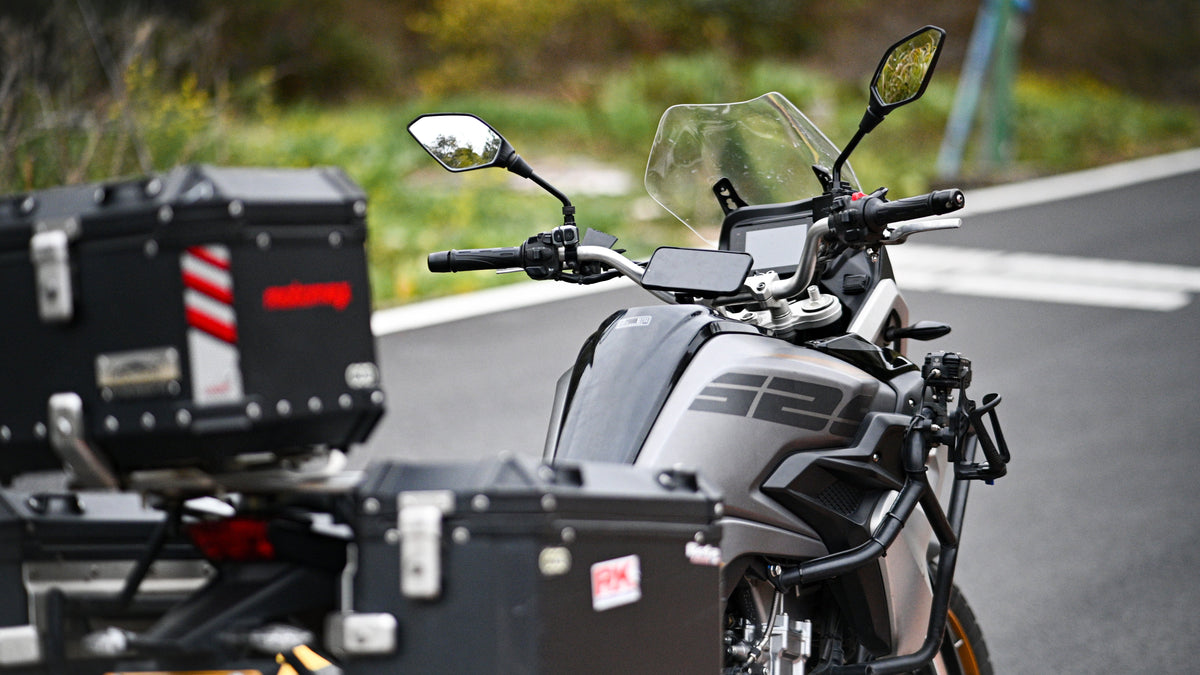
Under Decree-Law 162/2026, in 2027 no road tax will be due on gasoline-powered motorcycles, with no kW limit, but only one vehicle per person: if you have a car with up to 80 kW, the exemption applies to the car. Practical cases, real savings, deadlines, special-status Regions, and what to do now.
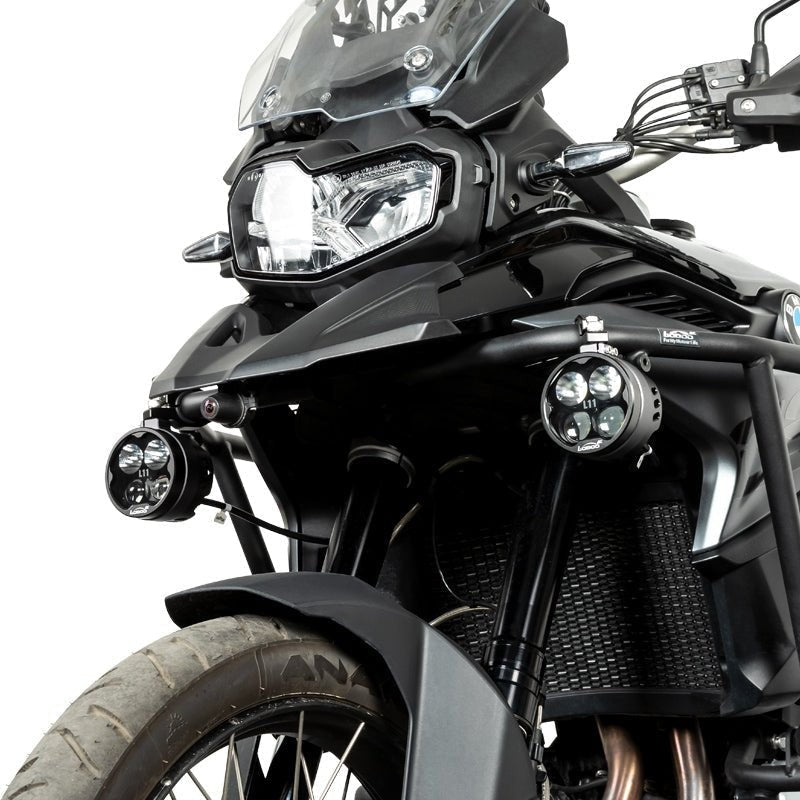
Riding a motorcycle in the dark during standard time: how to see better and be seen
From October 25, sunset comes before 5:30 p.m. What the 2025 ISTAT data say about motorcyclists, what Article 152 requires regarding lights, and what checks to carry out on lights, visor, and tires before returning in the evening.
Read moreabout Riding a motorcycle in the dark during standard time: how to see better and be seen
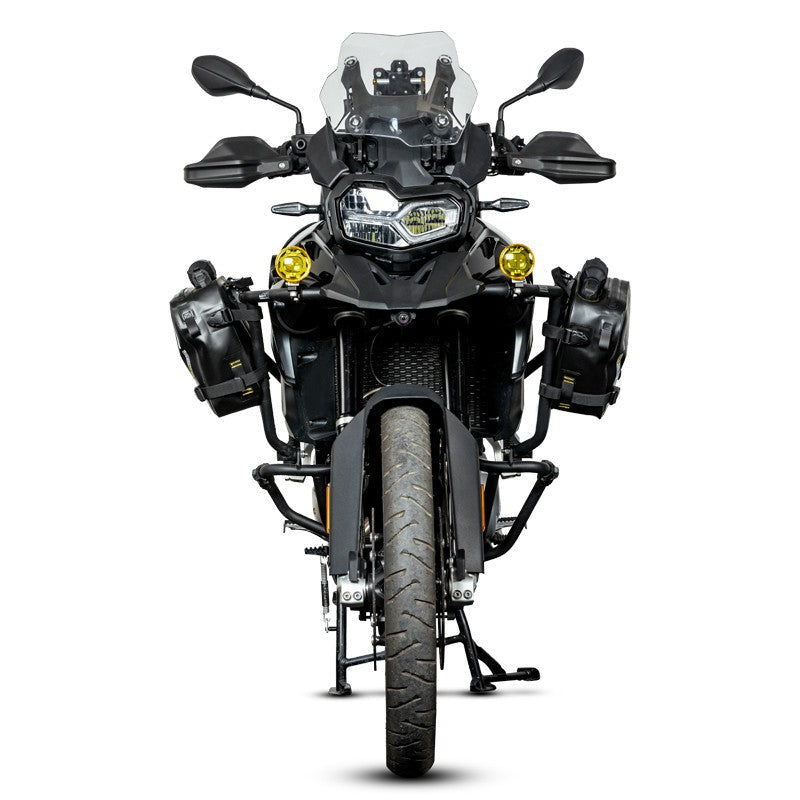
New Highway Code and motorcycles: what is already law, what is only a draft, and what to do now
On October 14, 2026, the government’s delegation for the new Highway Code expires: what is already law for motorcyclists, what is only a draft (emergency lane, gloves and back protectors, fines), and how to prepare your motorcycle without waiting.
Let customers speak for us
Excellent quality
Good price
Very fast shipping and very well managed

I installed the JADO S6 on my BMW GS (non-"dedicated" version), and although I don't use the BMW base, the display and features are still top notch. The night visibility is impressive, and the "X-Ray" mode, as they call it, makes evening riding much safer. I also appreciate Endurrad's quick support for pre-purchase clarifications: fast shipping, careful packaging. A product that is really worth the expense for a premium upgrade.

As a motorcyclist who travels many miles, both on asphalt and off-road, I was looking for a solid display with advanced features: well, the JADO S6 exceeded my expectations. The body is sturdy, and the IP69K waterproof rating won me over from the very first downpour. The WiFi/BT connection is stable, and the dedicated app makes downloading dashcam videos super fast. All in one device, without having to mount 3-4 different accessories. Excellent value for money.
Installed a few weeks ago on my adventure bike: the JADO S6 is truly a quantum leap in quality. The 6" screen is ultra-bright (even in direct sunlight it is perfectly visible) and the CarPlay/Android Auto interface works first time. The integrated dual dashcam gives me peace of mind on every trip. Installation was simple, with a clean fit without any invasive systems. Highly recommended for serious travelers who want a single smart control unit that does everything.
Excellent product, highly recommended. Be aware that it sells like hot cakes and is often out of stock... As soon as it's available, I'll buy more...


The bag is of excellent quality and comes with all the necessary straps and a shoulder strap. The two methods of attaching it to the motorcycle are well designed and offer a range of options. I will also buy the larger model.


I saw the Endurrad ad on Facebook and immediately set about getting Loboo inflatable bags for my motorcycle...... But due to a technical error, I entered the wrong information on the order, which had already been shipped. Alarmed, I sent emails to the Endurrad staff, who, with their professionalism (and I must add, their patience), corrected the information both in the registration and with the courier, who was already on his way to deliver the order...Within two days, I received the bags and immediately tried them out and fitted them to my motorcycle. So I must say with great satisfaction that I was very pleased with the staff, with the product, and above all with the professionalism with which the marketing of all these products was carried out..... 🙂


Excellent product... Fast and punctual shipping. Giuseppe is knowledgeable, kind, and helpful.

Materials, design, ease of assembly, height-adjustable spoiler, alloy core, all really beautiful and functional

Very powerful light, very easy to install, even for someone like me who knows nothing about electrical systems.
Very happy

I would say serious, honest, friendly professionals without controversy, because advertising is the basis of sales! As a motorcyclist, only excellent reviews!

Reliability and professionalism...product as described...I was surprised by the quality of the details, starting with the box and everything else...top..top.....top


